Automatic Proctoring System for Teachers
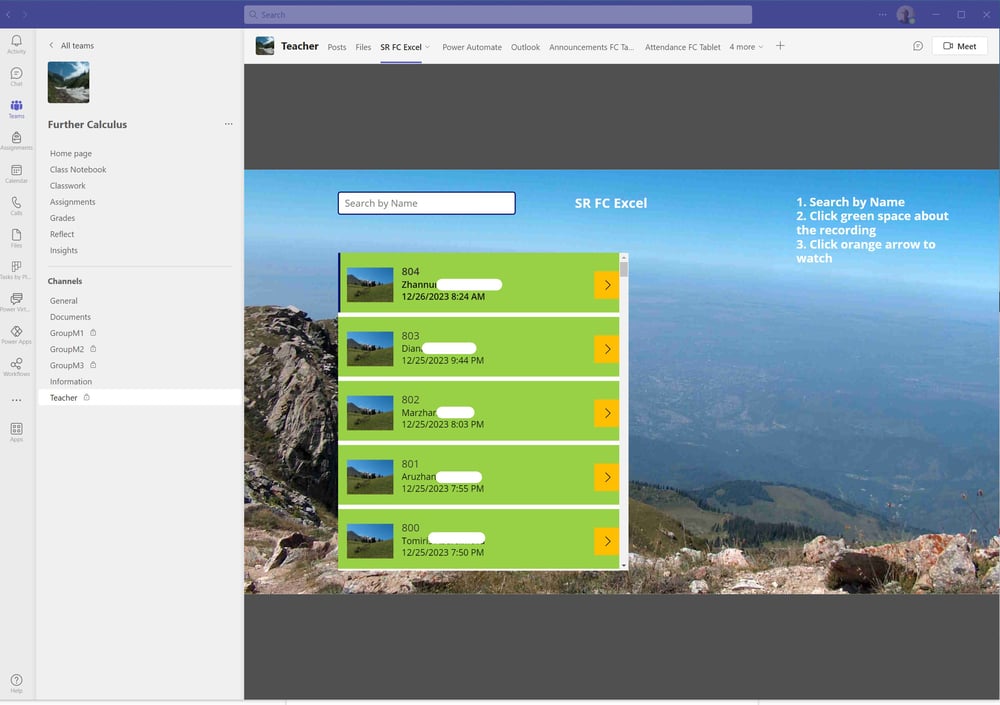
It is a Power Apps application inserted as a tab in a private chanel of a teacher. Screen recordings are provided by students through Microsoft Forms. The corresponding Microsoft form is created either from an Excel Online (Busines) file with the same name or is associated with such a file by a Power Automate flow. As result, all html references to recordings are collected in the excel file. This file is connected to the gallery of the application. When grading a student paper, a teacher use the top box to search the required recording by name and then click the green area to select an appropriate date. A click on the orange square opens the recording in seconds and the teacher can watch student's actions during the test. The teacher can jump from one place of the recording by clicking them with mouse. Practically, the jump requires about one second. The following sections demonstrate all steps required for creation of this useful applications.
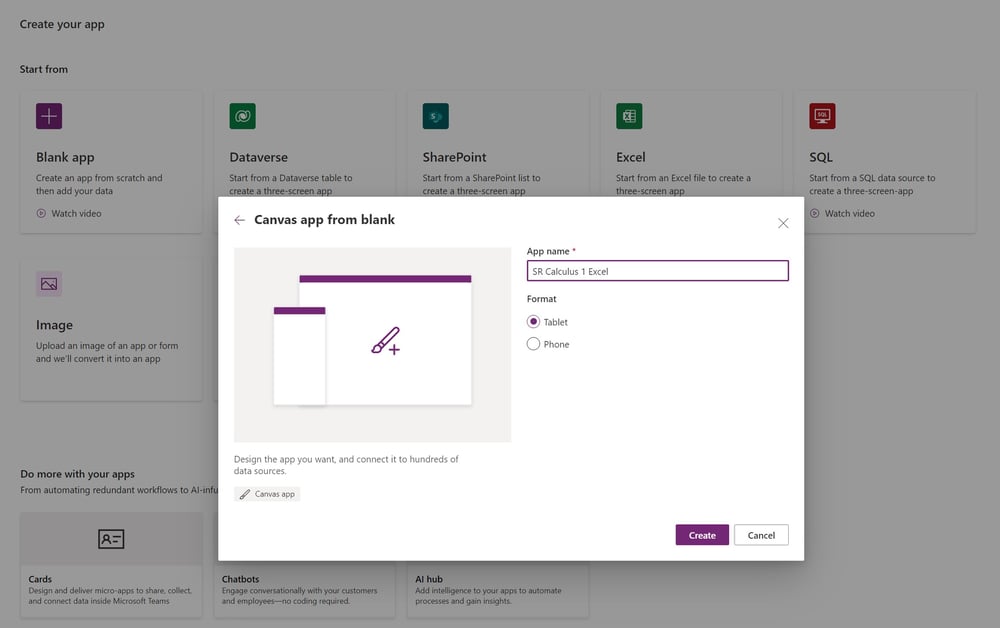
Pic 1
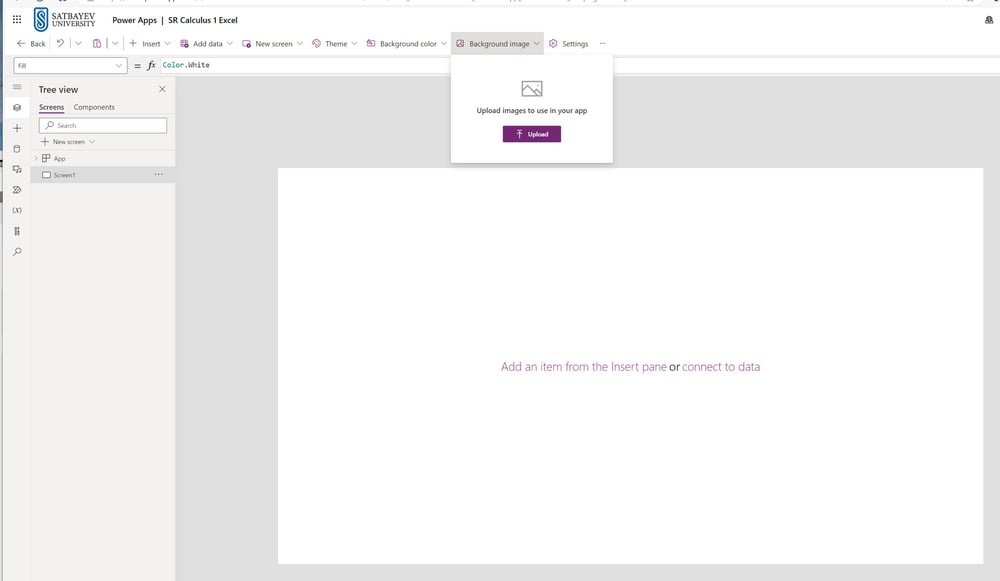
Pic 2
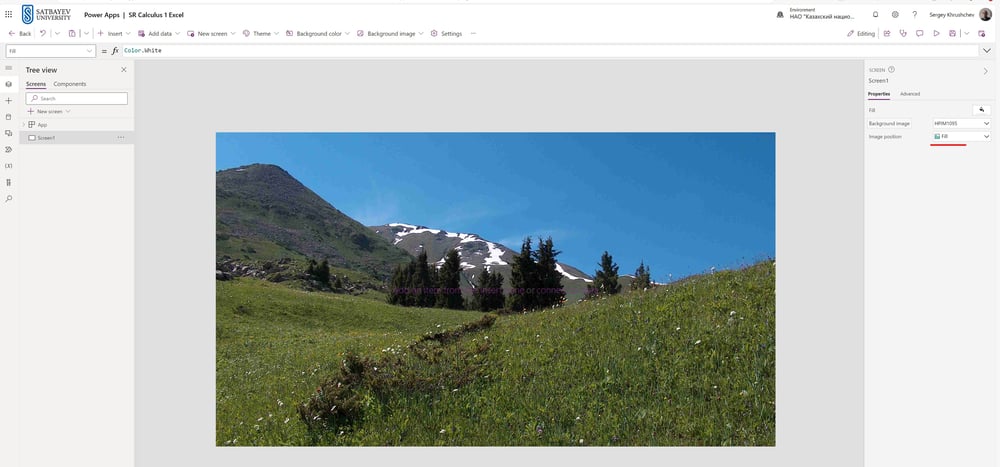
Pic 3
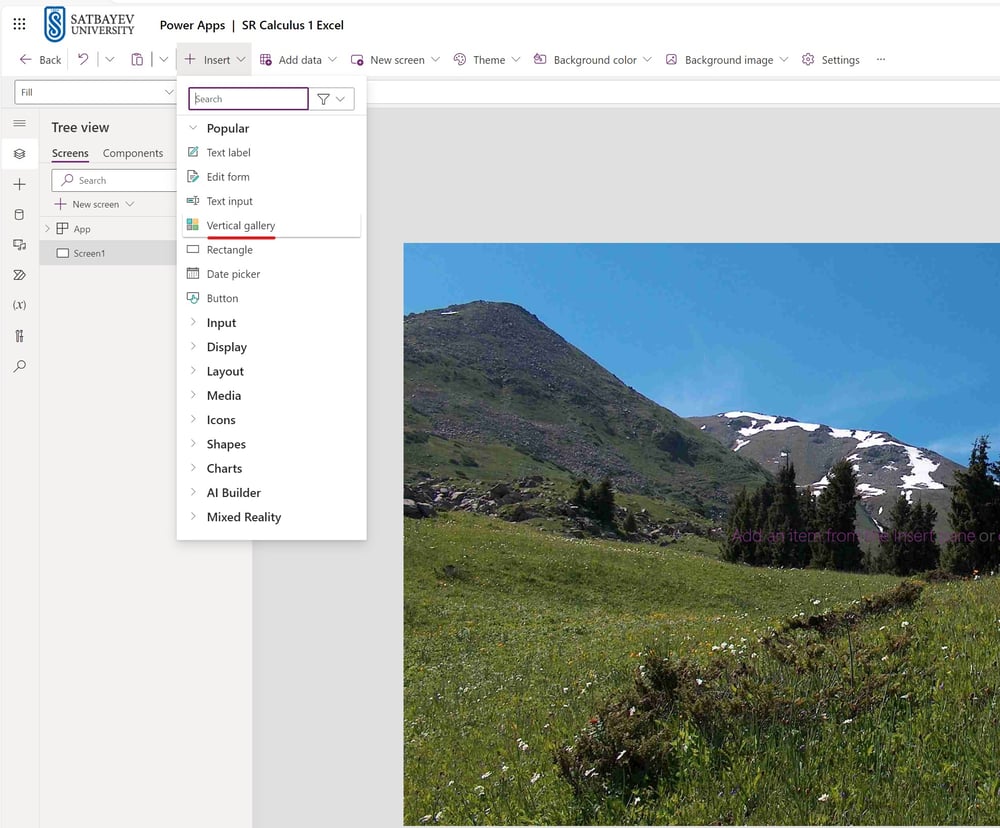
Pic. 4
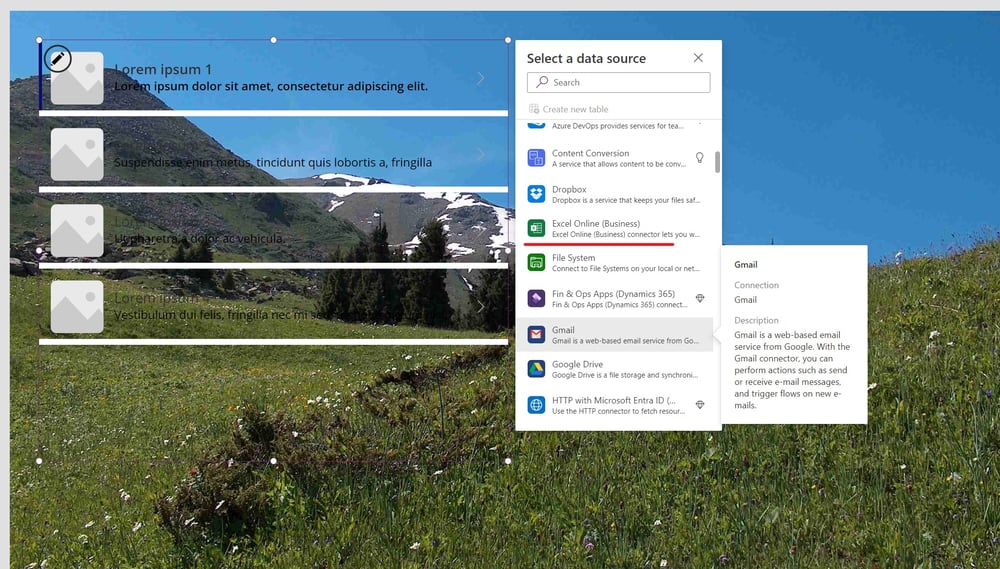
Pic. 5
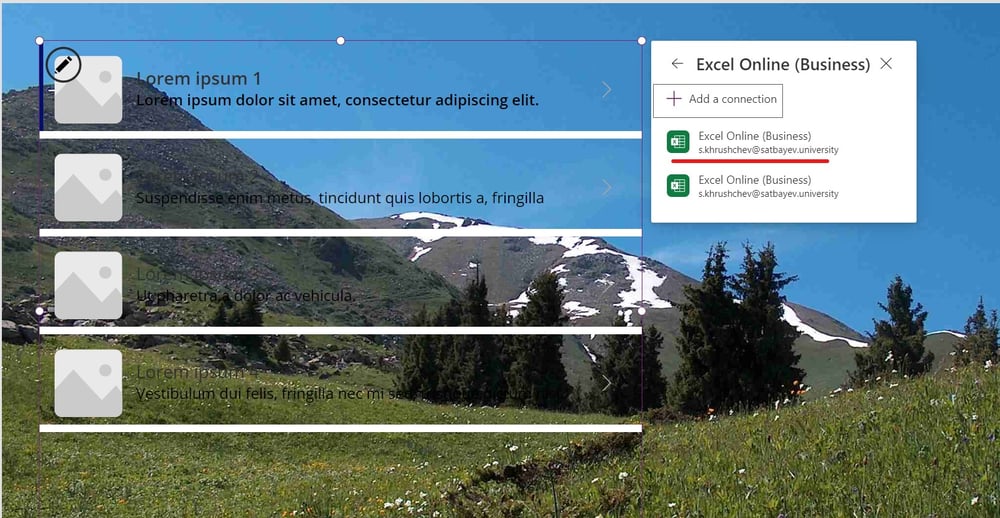
Pic. 6
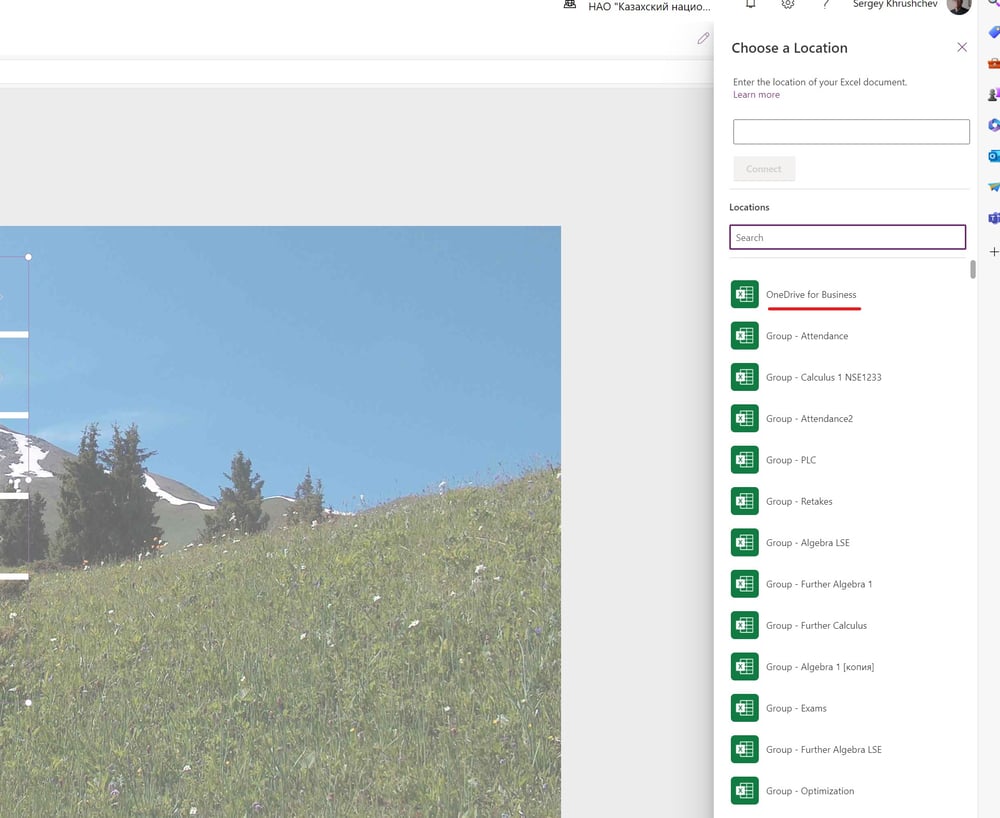
Pic. 7
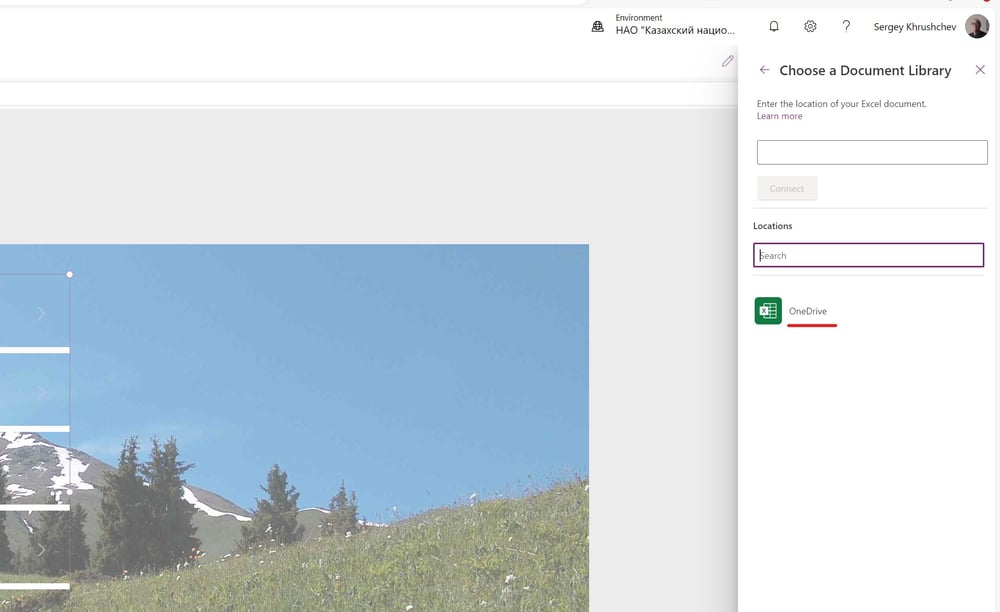
Pic. 8
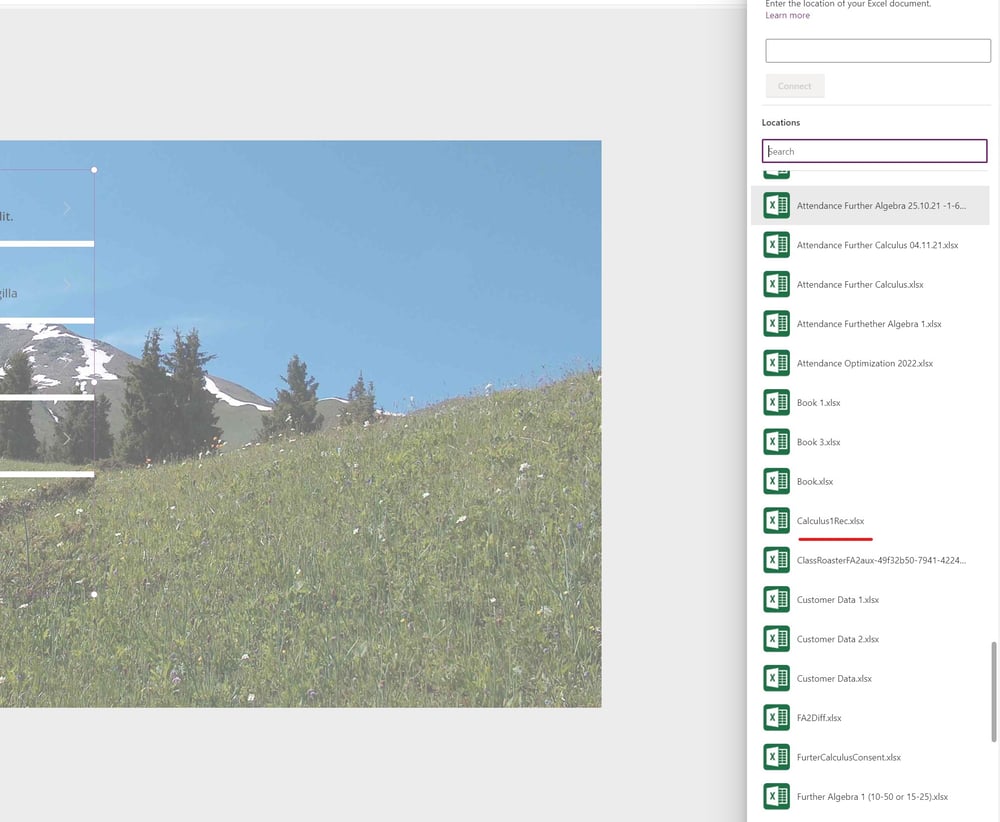
Pic. 9
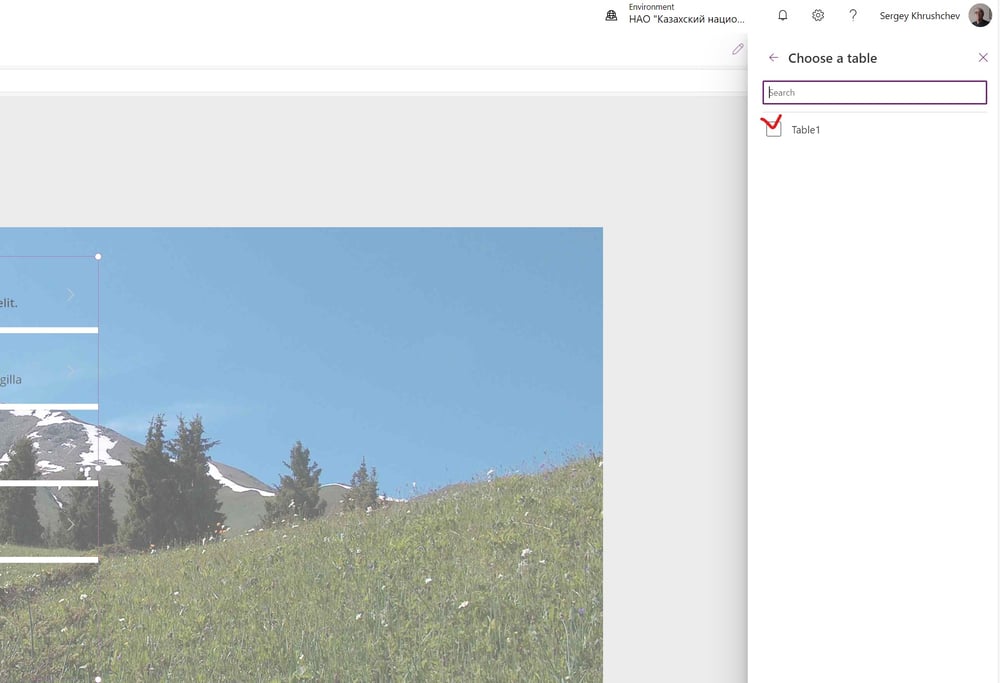
Pic. 10
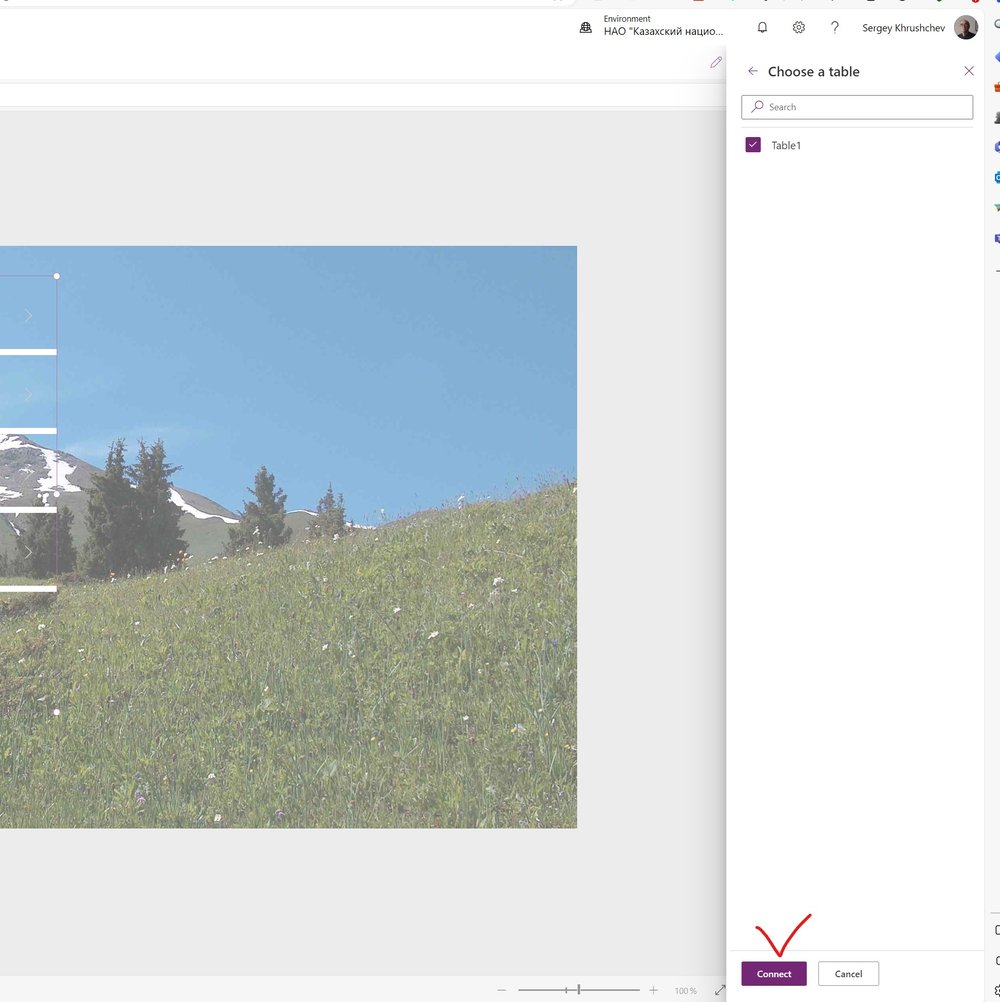
Pic. 11
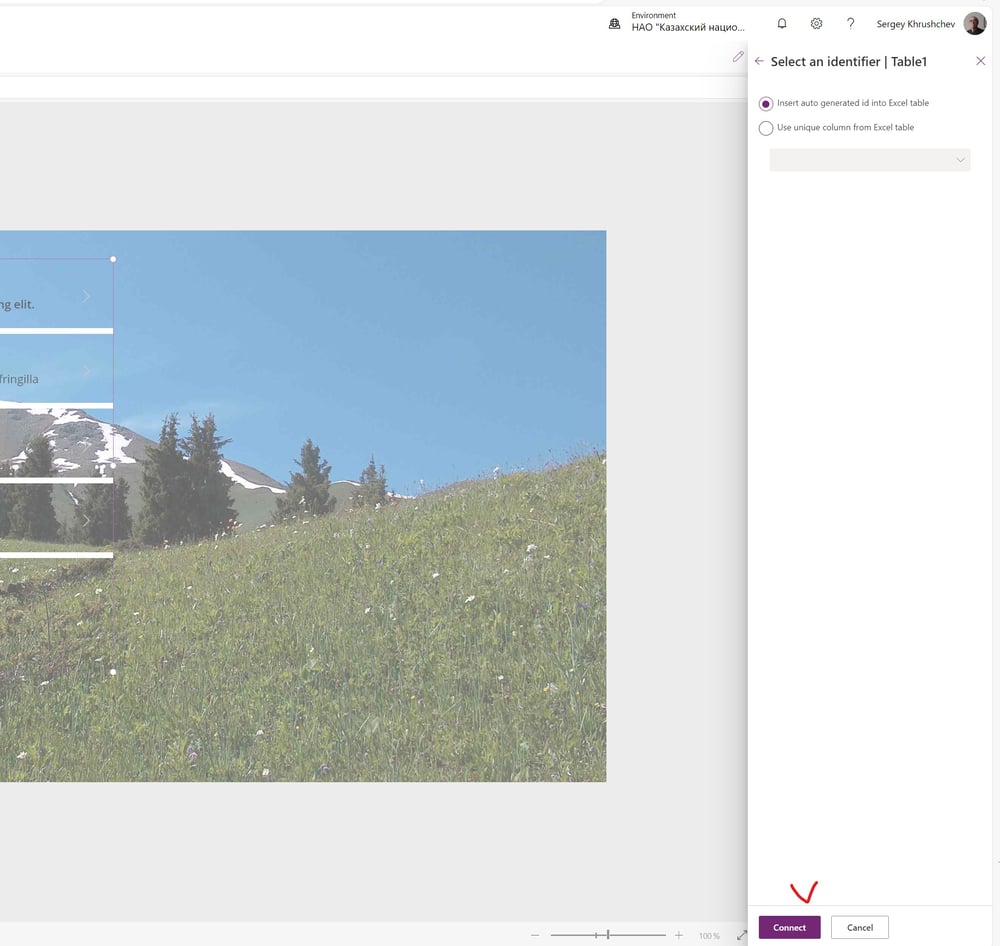
Pic. 12
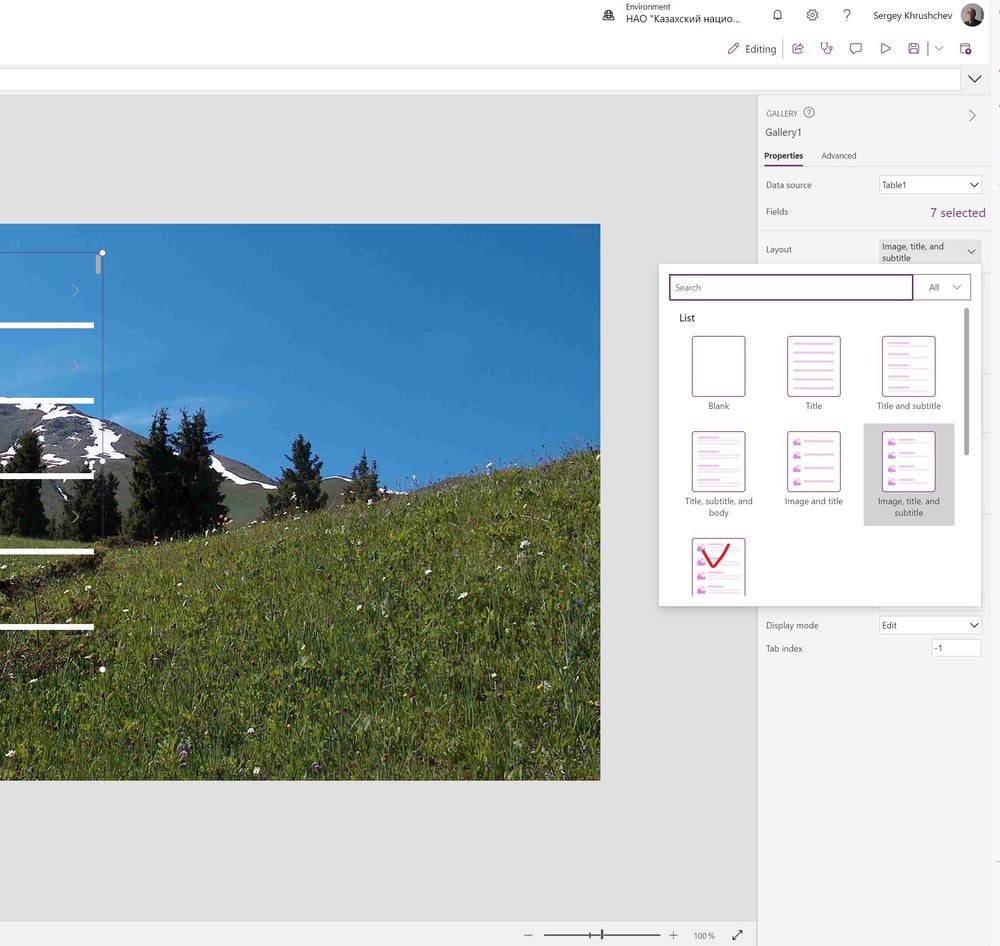
Pic. 13
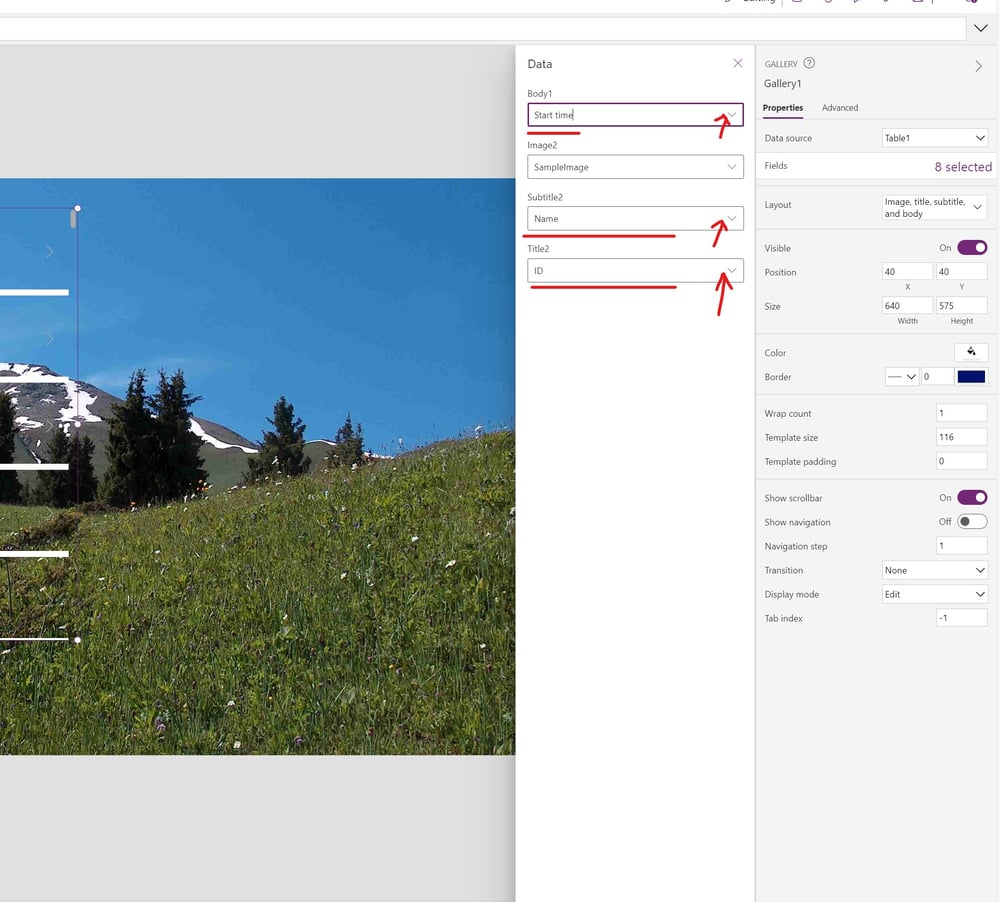
Pic. 14
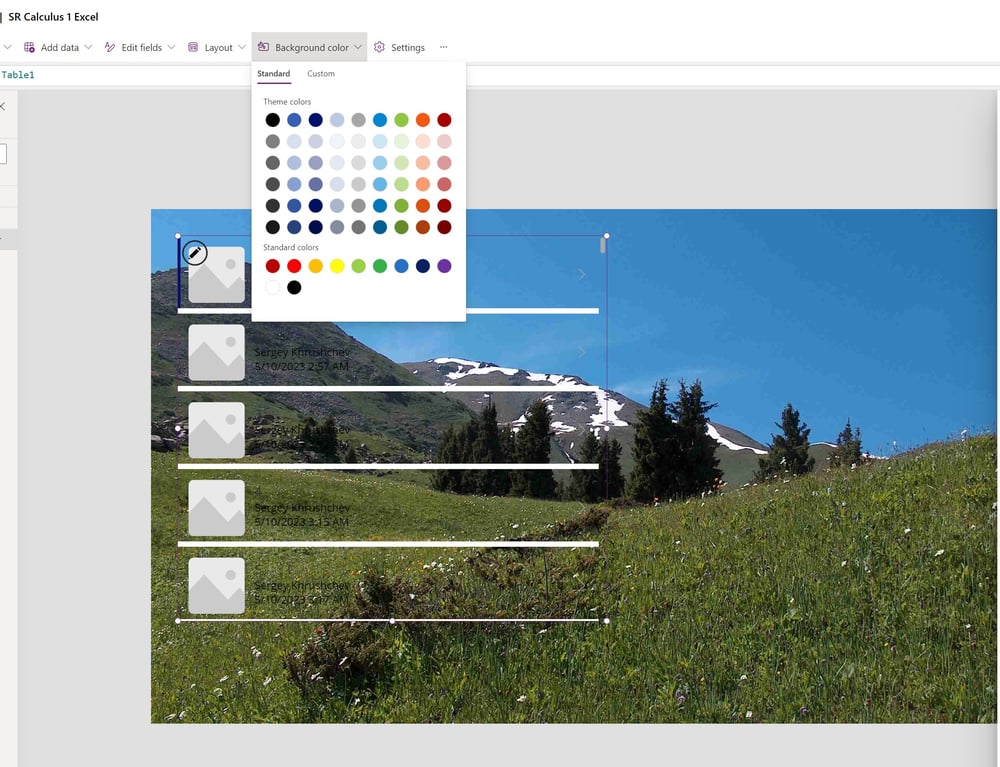
Pic. 15
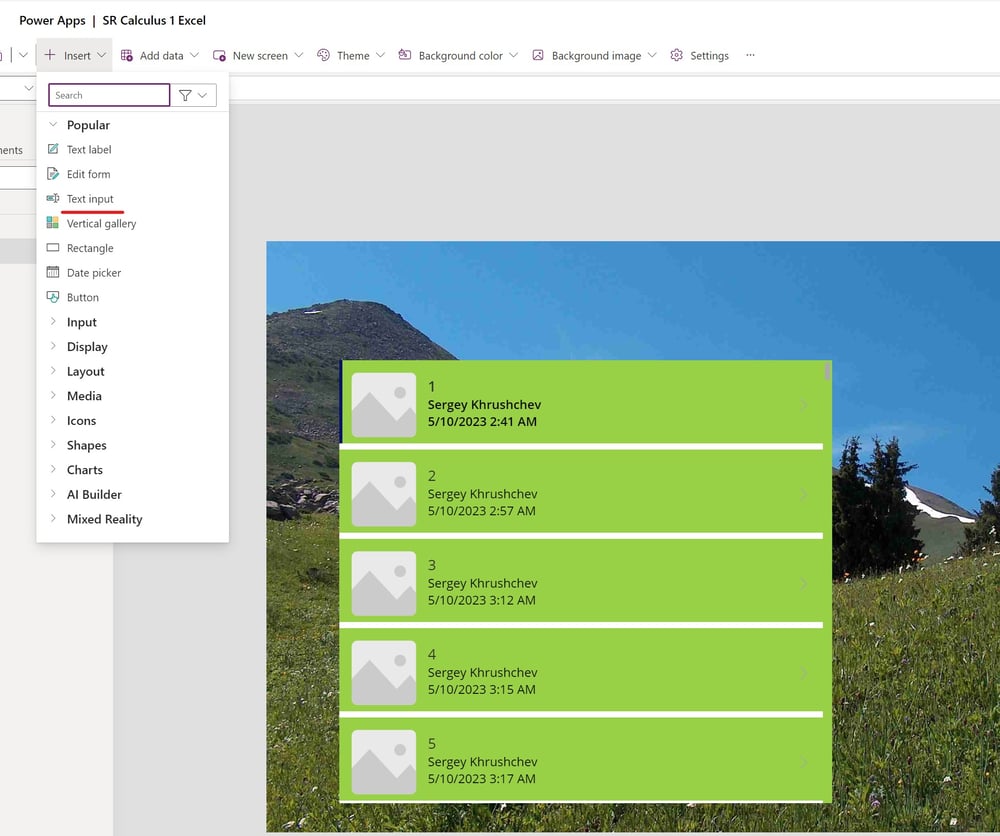
Keeping Gallery selected in the left pane, click the "Background color" at the top menu to select the color for the gallery boxes.
Pic. 16
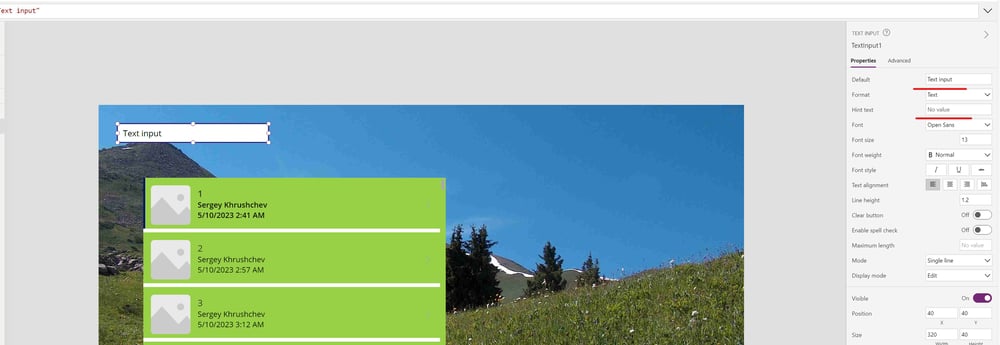
Selecting "Screen" in the left pane of the "Tree view," insert the text input component to the main screen.
Pic. 17
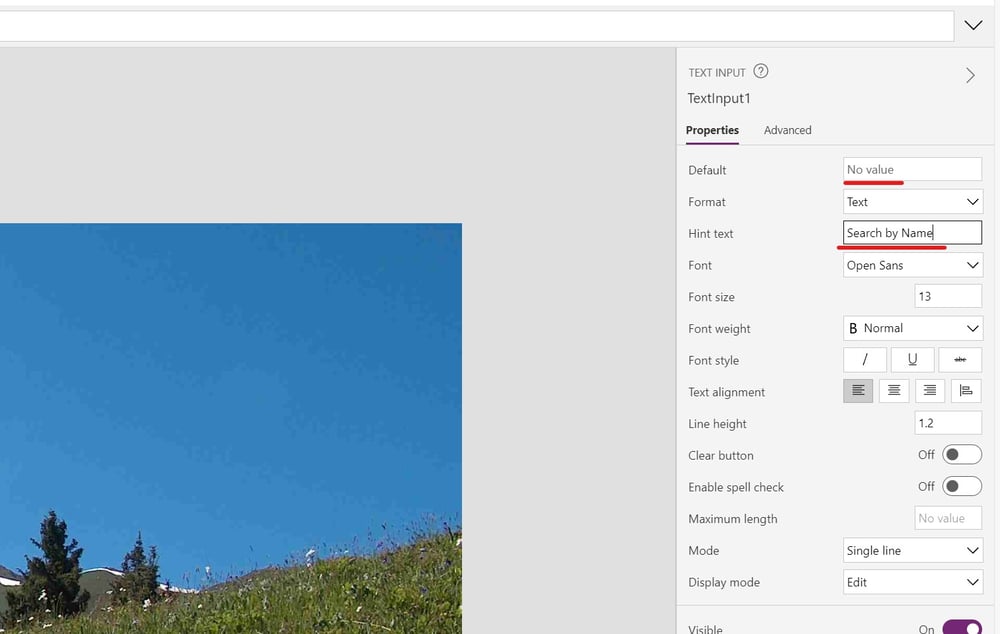
Using the right pane, remove any text in the first box and type Search by Name in the second
Pic. 18
Pic. 19
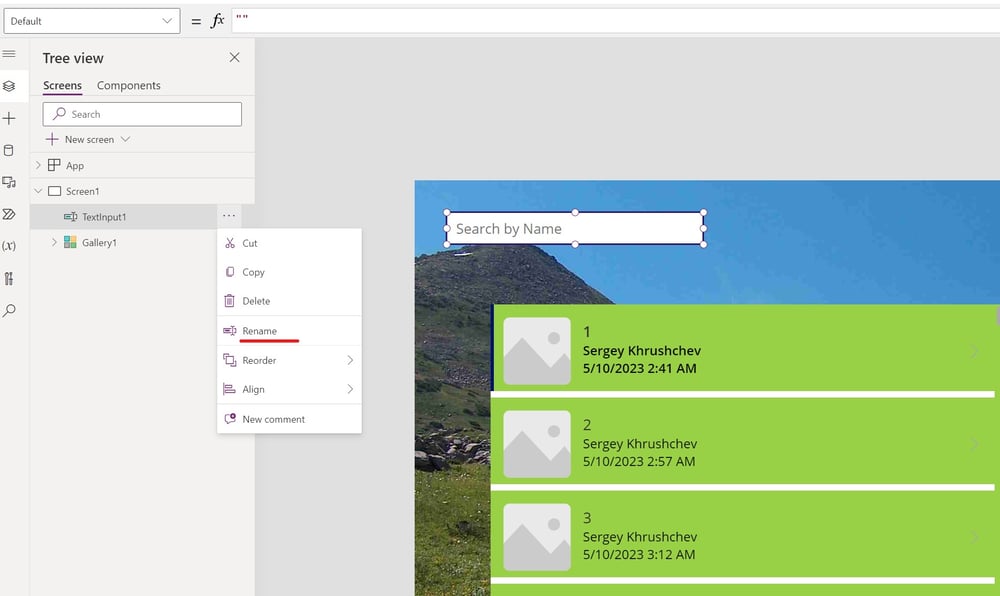
Select the search box and rename it to txtName
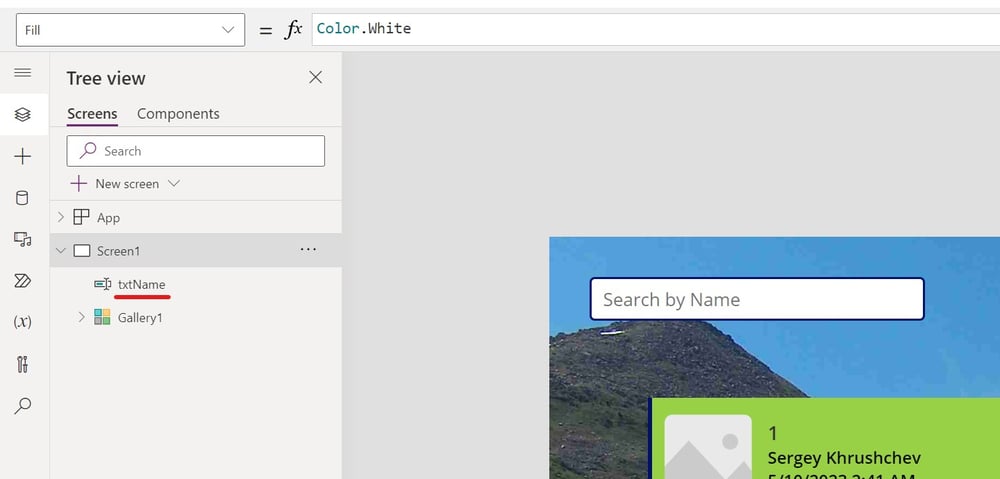
Pic. 20
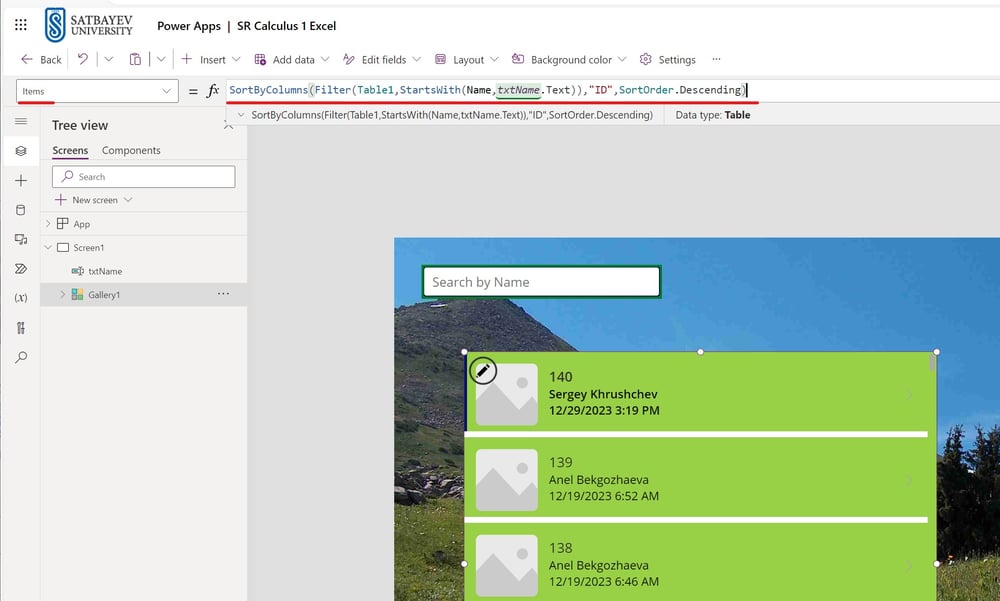
Pic. 21
Select "Gallery1" in the "Tree view" pane, check that function field at the top has "Items" in the left window and type the code shown in the right function window.
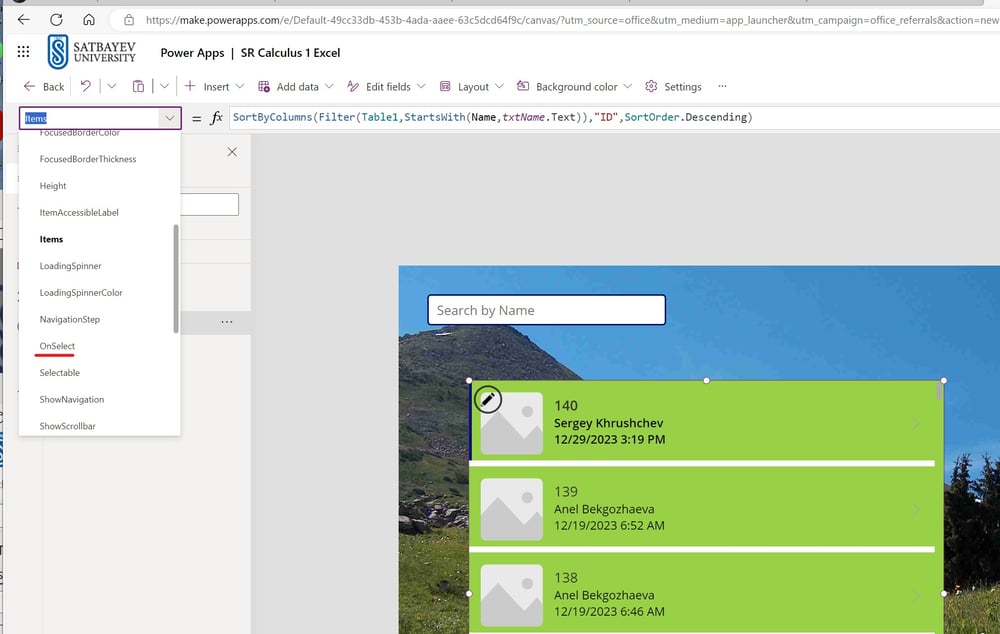
Pic. 22
Open the choice window through the check mark of the left function window to select option"OnSelect."
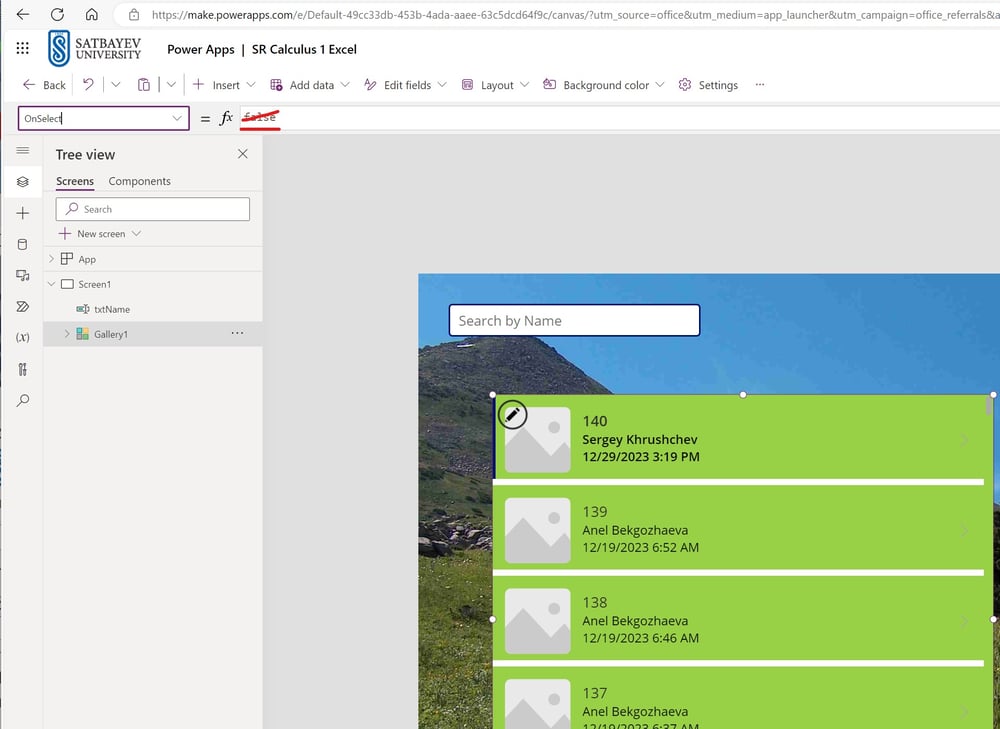
Pic. 23
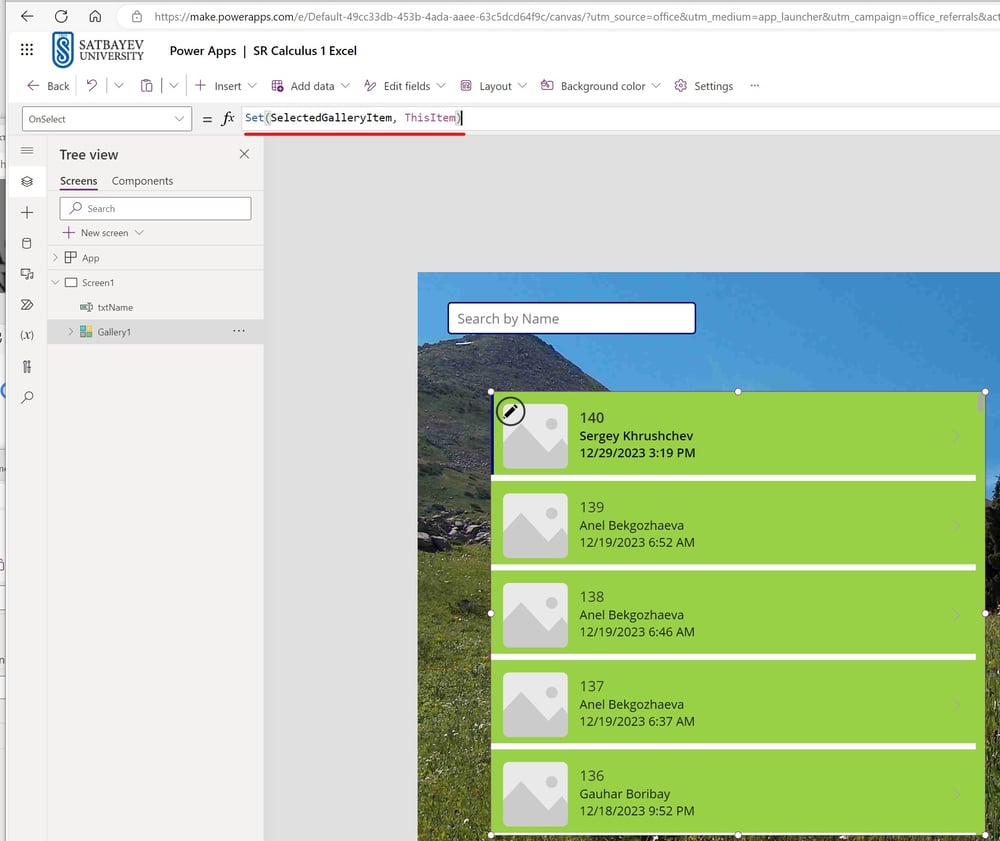
Pic. 24
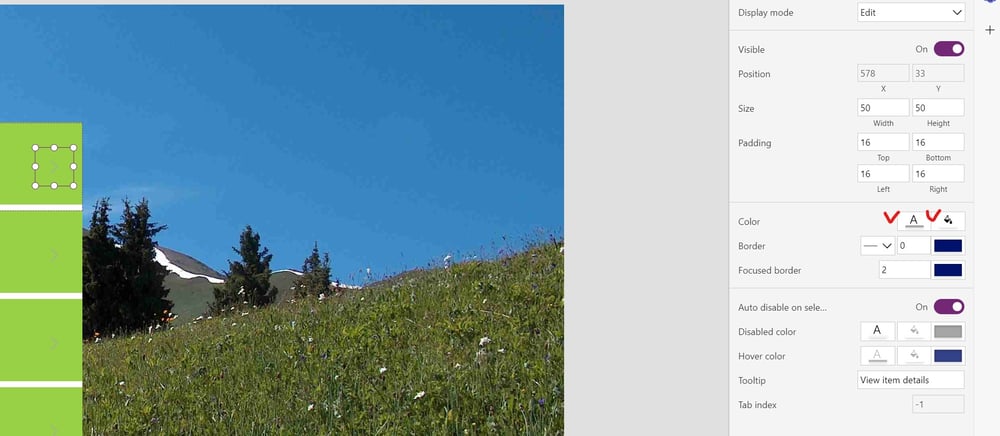
Pic. 25
Select the box arrownd the arrow and change colors.
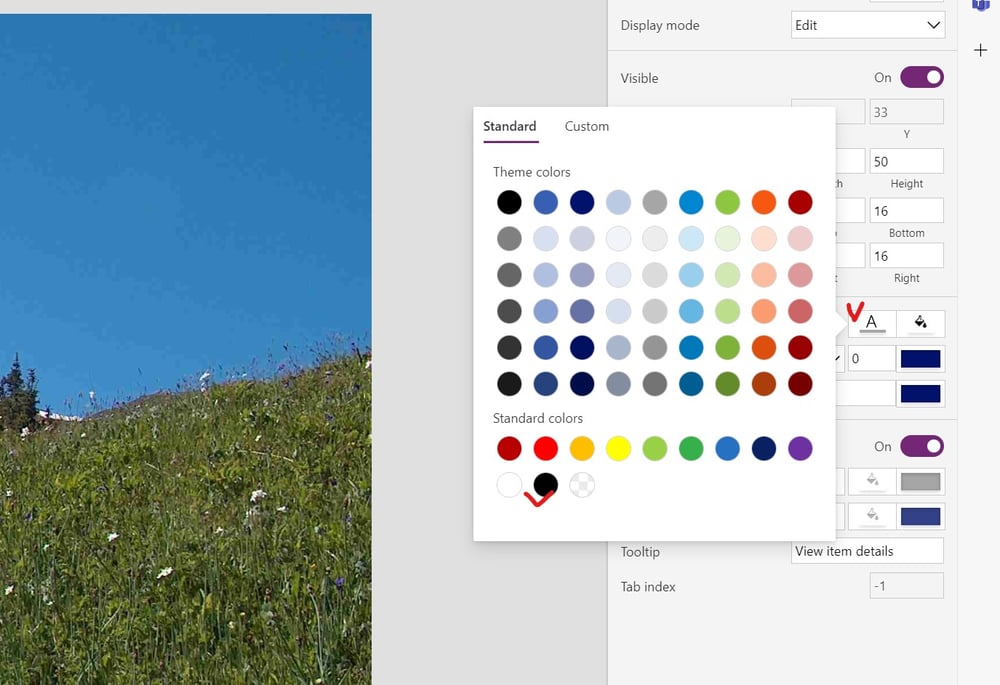
Pic. 26
Pic. 27
Pic. 28
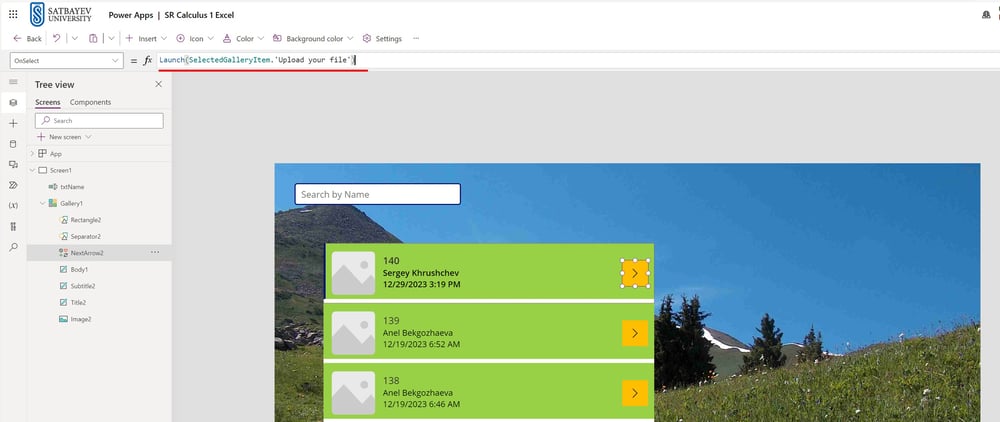
Select the top orange box in the gallery, check that you have "OnSelect" choice in the left function window and type the following code: Launch(SelectedGalleryItem.'Upload your file'). The expression in qote marks may very. It depends on the name of the column, containing links to the recordings in the excel file. If the name of the column does not have spaces, like for example "Upload," then you type Upload after the dot without any qote marks. The system shows you that there is a mistake at this place if you type a wrong name for the column in the Excel table.
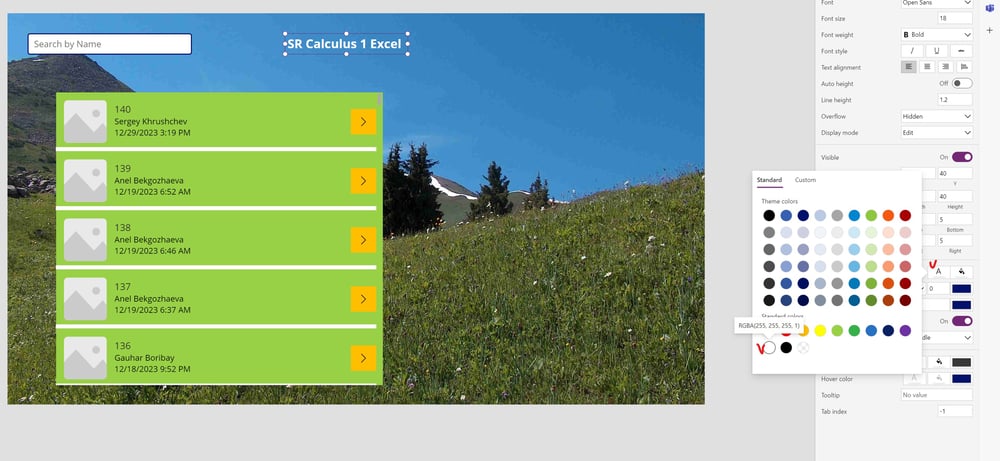
Pic. 29
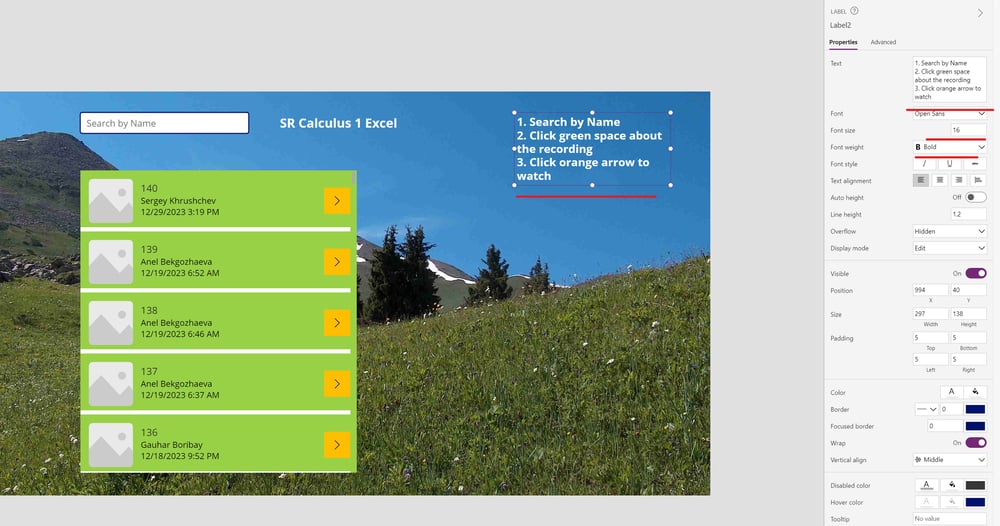
Pic. 30
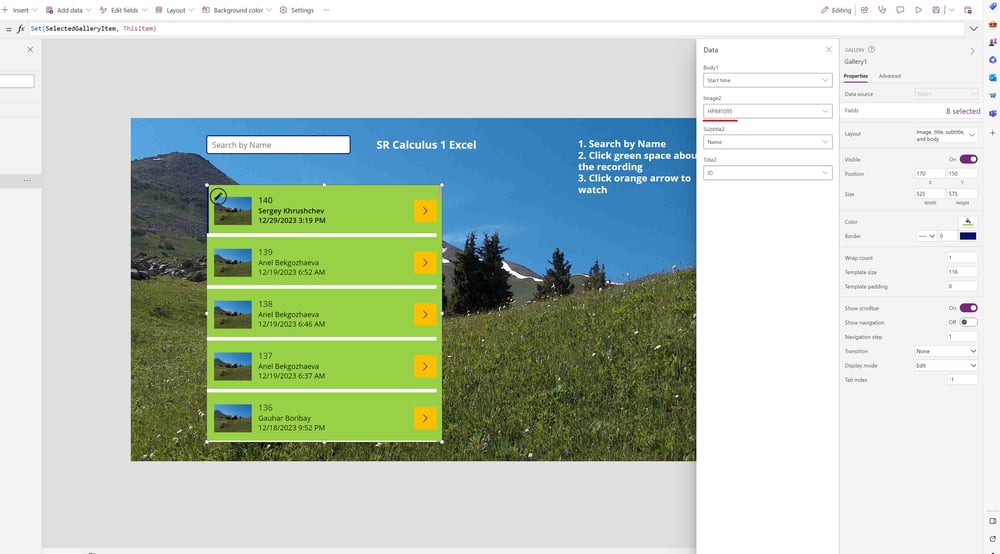
Pic. 31
Select the background picture to fill empty windows in the Gallery.
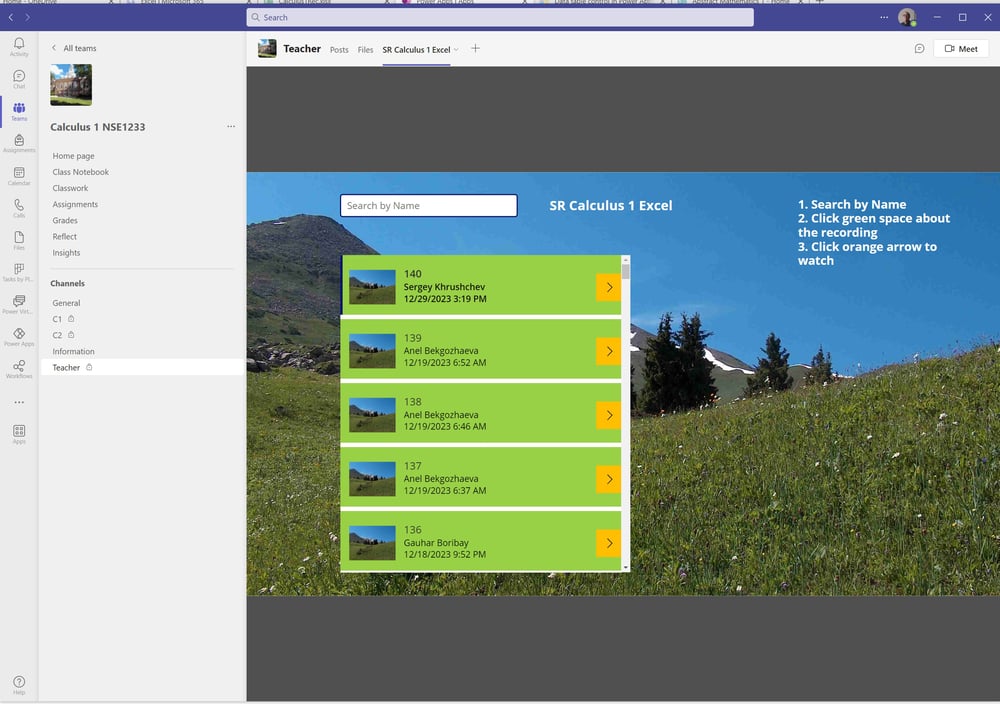
Pic. 32
Using the '+' sign at the top, insert the Power Apps application as a tab to the private channel.

Pic. 33
A Power Automate flow for students
This is the first part of the flow which collects links to students' screen recordings in another Excel Online Table. The best place for this table is the Class Material folder (=SharePoint Library). The reason is that be default all documents in this library are read only for students.

Pic. 34
A Power Automate flow for students
This is the final part of the flow.