Welcome to Power Apps for Grade Books
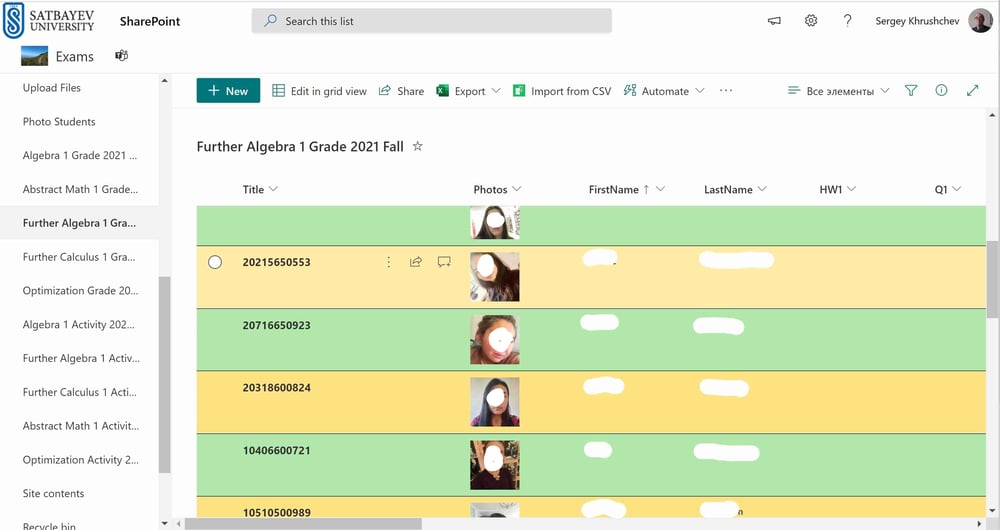
This site includes several pages which explain the construction of grade books: grade book 1, grade book 2. An example of a grade book is shown above. It is a Microsoft List with personal students' information including their current grades. Since current grading system depends on the teacher, it must be under teachers control. However, the heads of departments are interested to have this information as well. Although Microsoft Lists are now available for Apple and Android phones, it is not very easy to find concrete students in these lists. Microsoft Power Apps solves this problem.
Gallery
This gallery shows what the head of department can see.
Install Power Apps
Open Power Apps and select the grade book
Select a student
Open the details
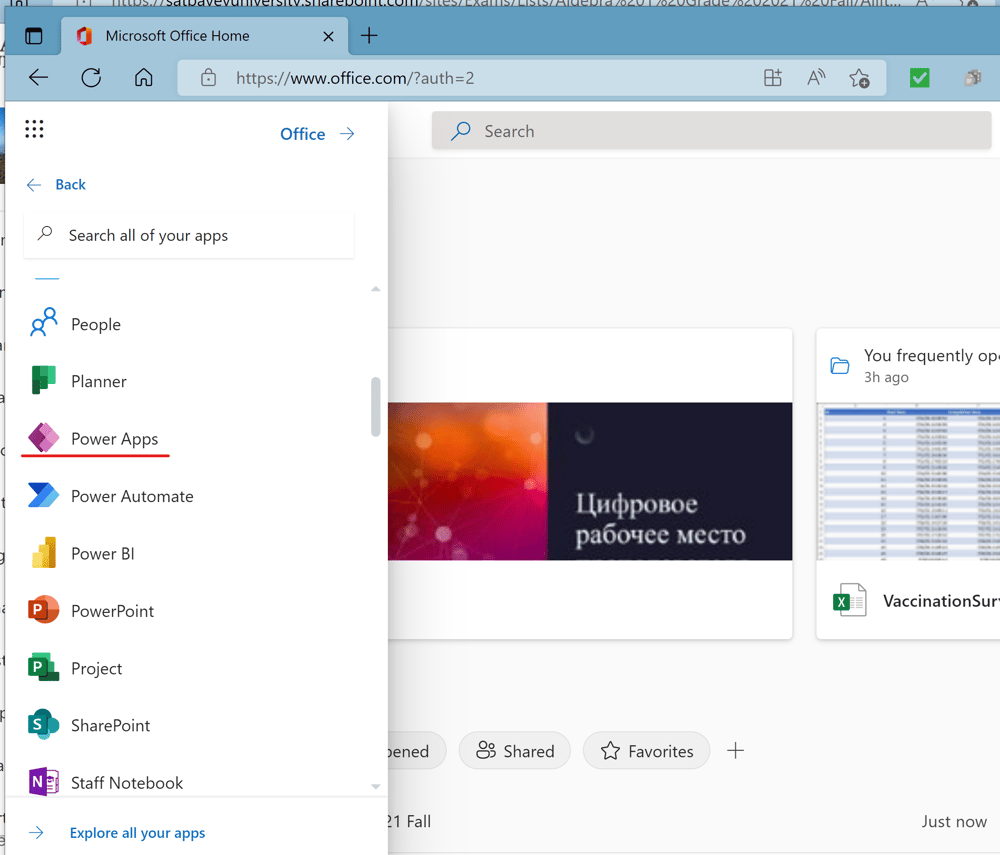
I open the site https://office.com and find "Power Apps through the waffle icon at the very top.
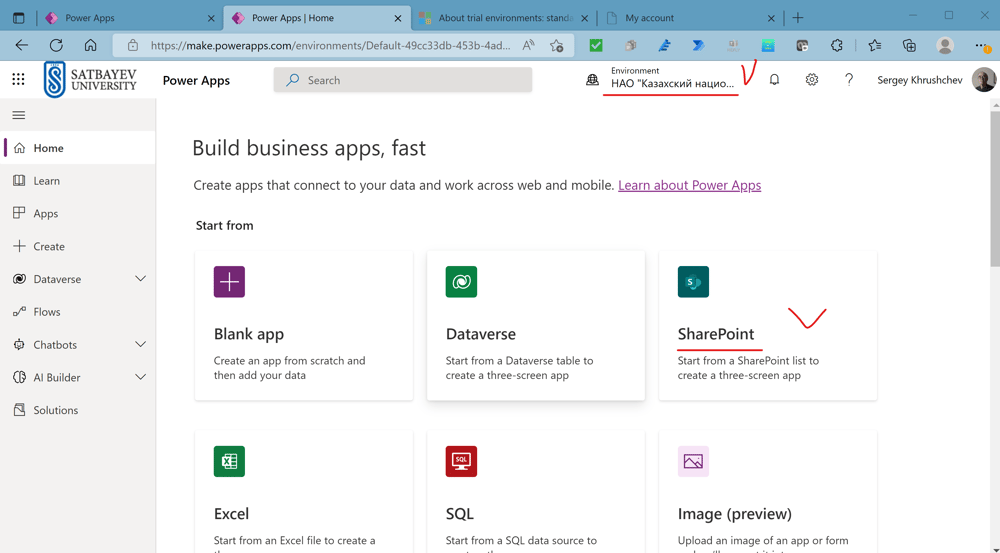
The system directs me to the Power Apps Studio. There is a default university environment shown at the top (see picture above) and the Studio includes several data sources including SharePoint. My grade books are all in the SharePoint of a PLC Team especially created for this purpose. I am the only member in this team. This simplifies the permissions assignments. I press the "SharePoint" icon above.
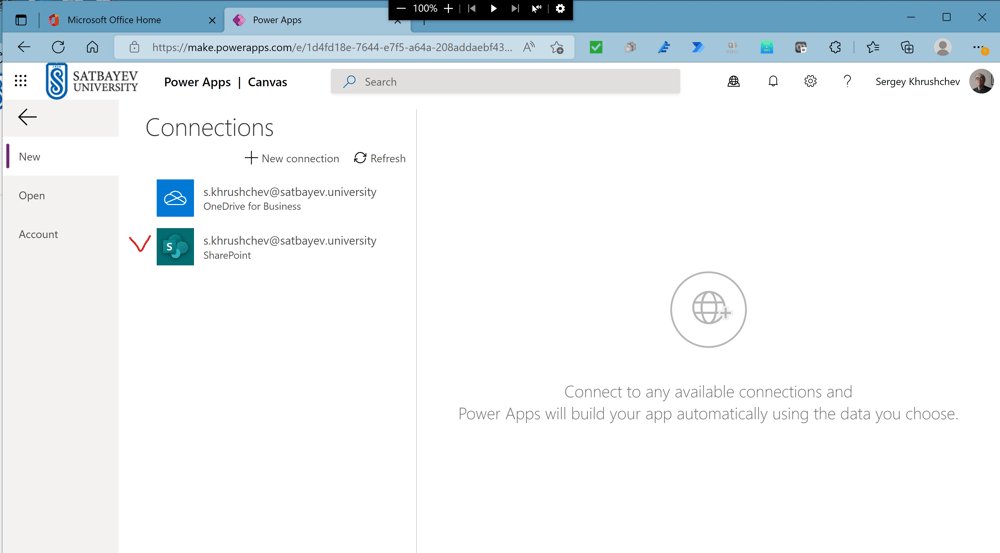
The system opens the window with the connectors available. I select SharePoint. If you do not have it, you may add this connector through the "+ New connection" button.
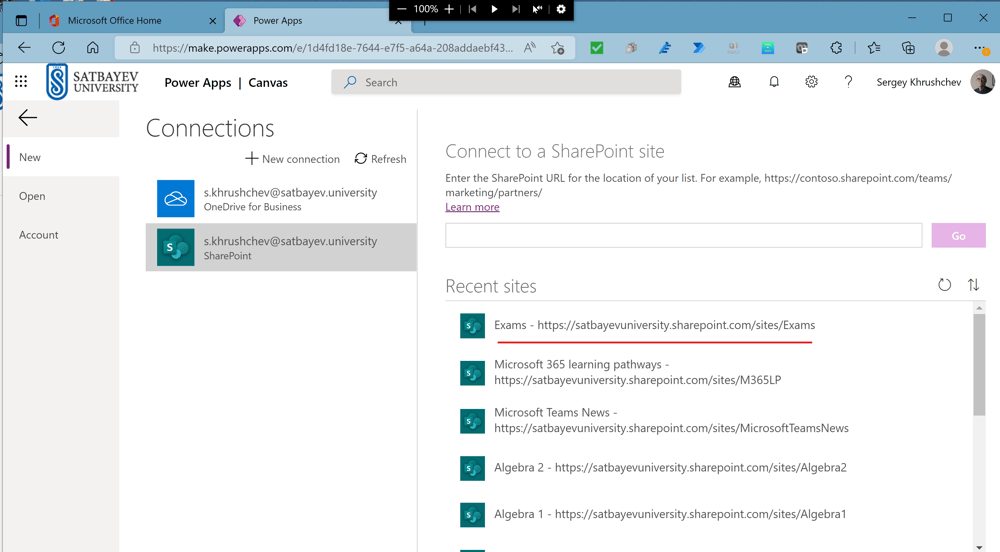
The system shows all SharePoint sites available for me. I select "Exams."
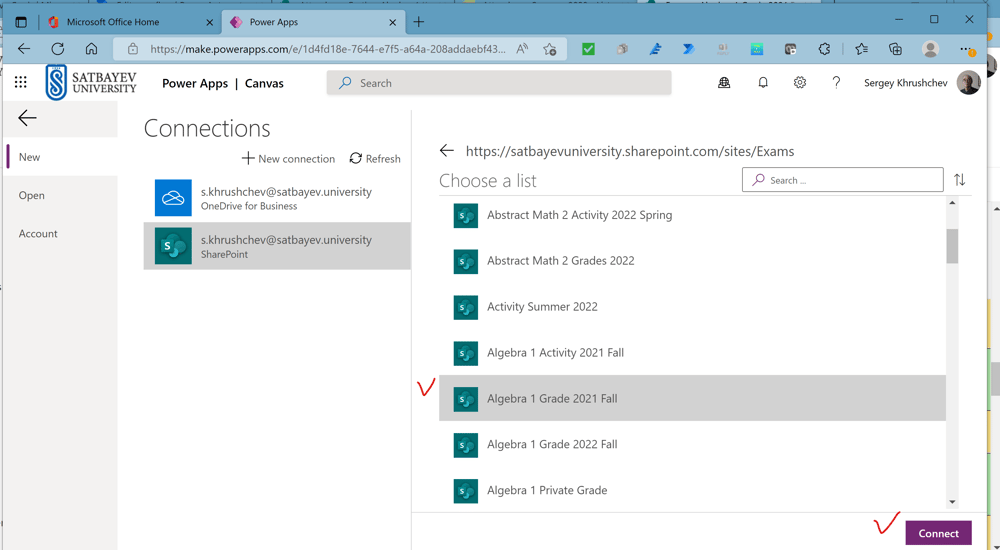
I select the Microsoft List corresponding to my Grade Book and press the "Connect" button.
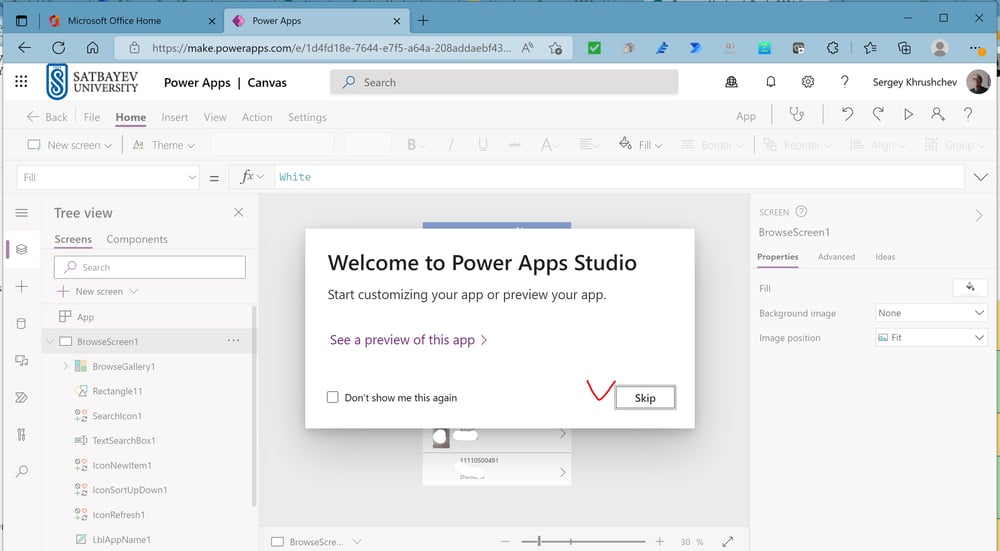
I press the "Skip" button.

I click to the empty space inside the form to get the "DetailForm1" icon on the left pane. I select it and get the "Edit fields" button on the right pane. I need this button to add to the form all required fields from the Microsoft List. By default the system displays only eight fields.
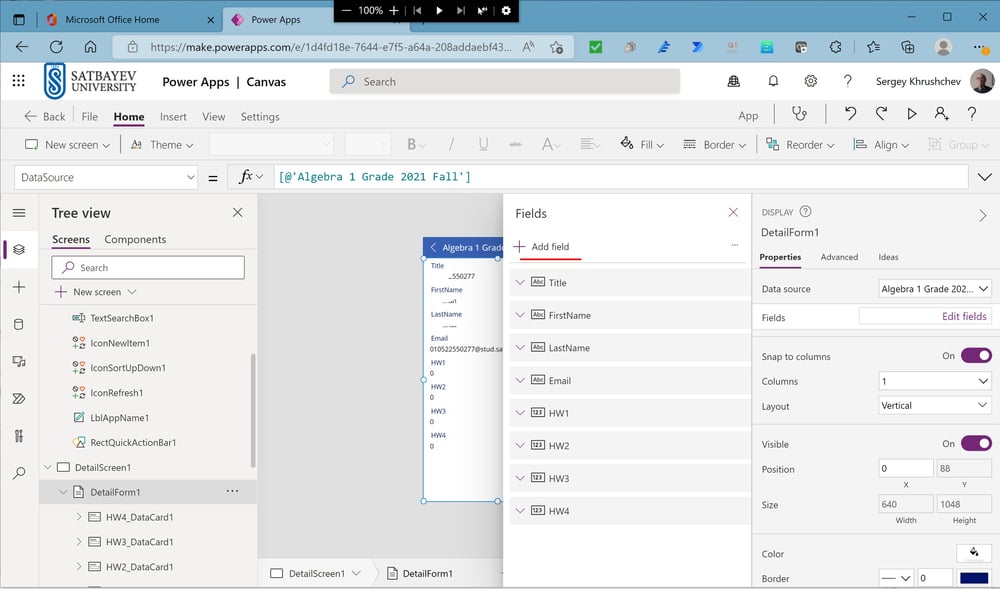
The system opens the "Fields" menu and I can add missed fields with the "+ Add field" button.
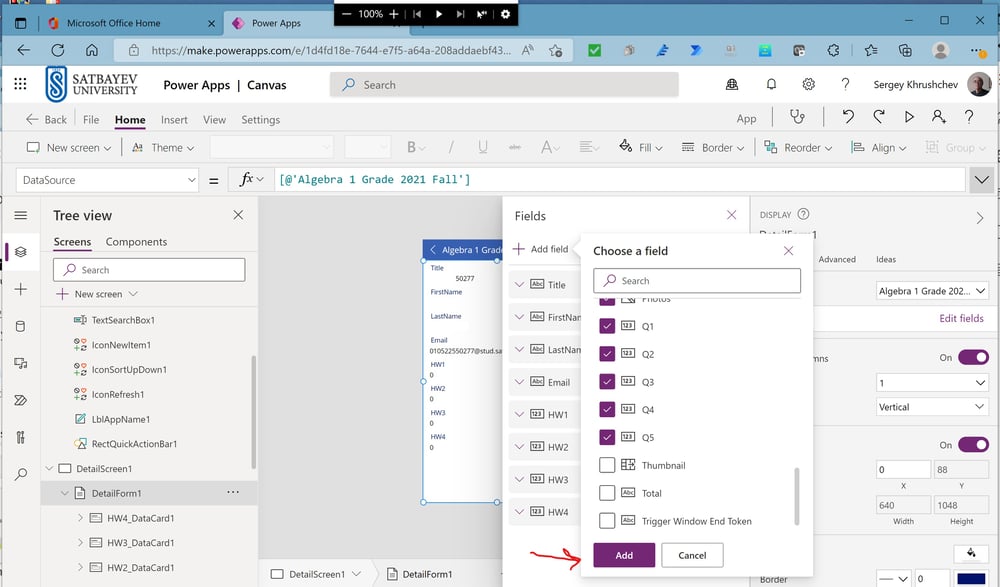
I mark the required fields and press the "Add" button.
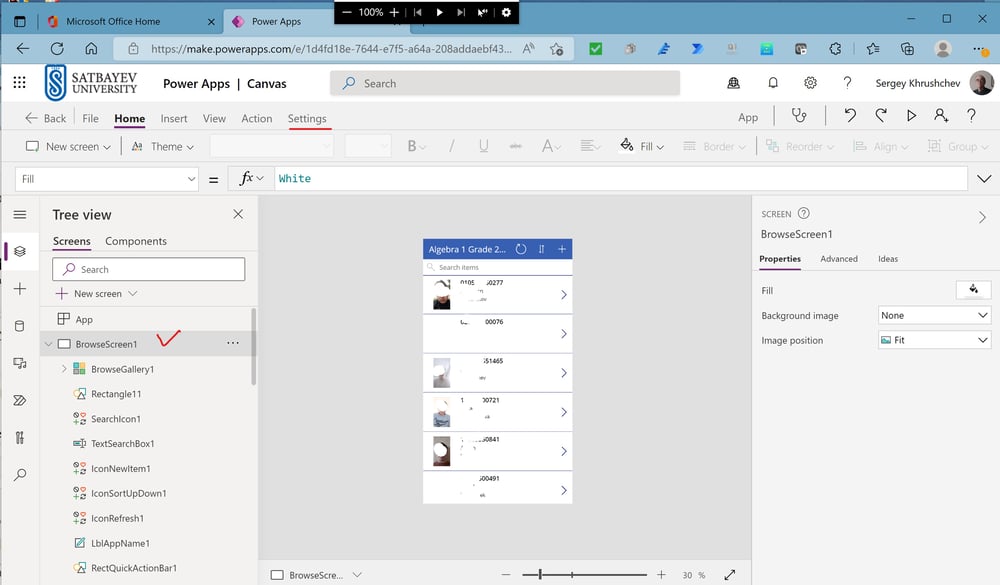
Using the "Settings" tab, I give the name to my application. It is reasonable to give it the name of the connected list.

To save my application, I open the "File" tab.
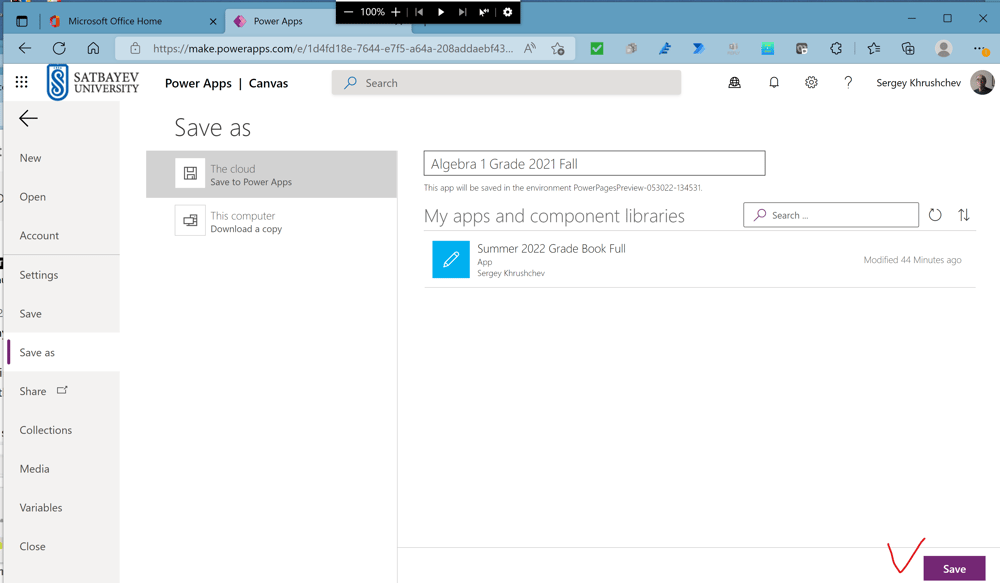
To save my application, I press the "Save" button.
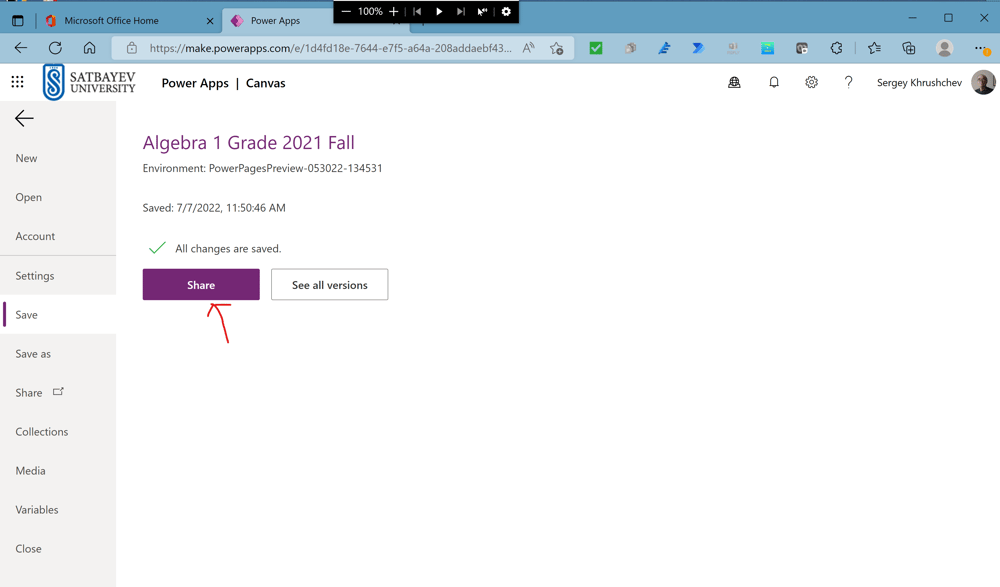
Now I can share this application with the head of the department.
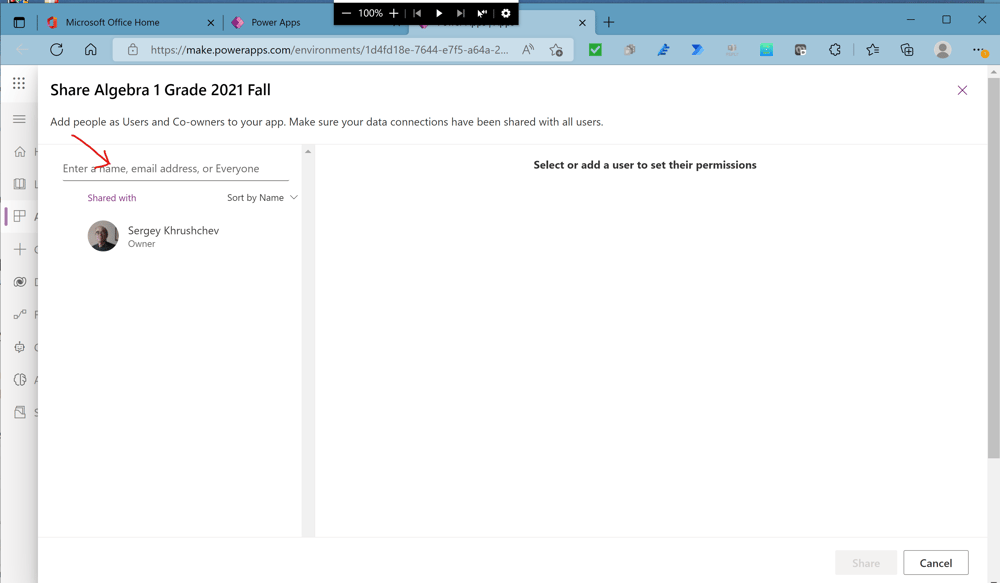
To share the application, I insert the required email as shown above.
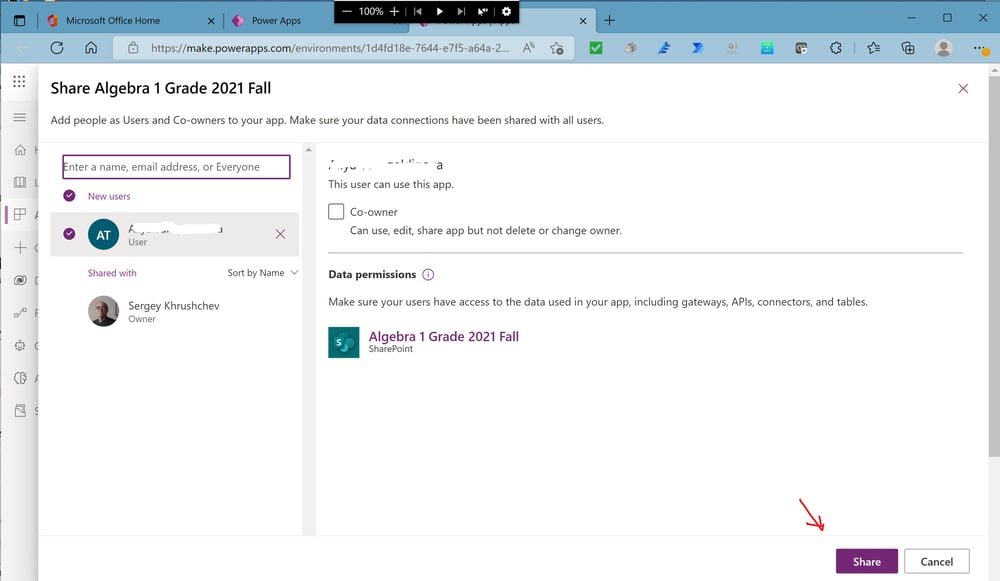
To complete the process, I press the "Share" button. Notice that Microsoft created Power Apps for PC. It can be installed from the Microsoft store.