Welcome to Power Apps


The page "Power Automate" of this site includes a description of a flow, which sends messages to Kaizala as soon as a row is added to the Announcement List, see above. The rows are added through the "+ New" green button at the top. This list includes the "Title" column, which is of a "single text" type, the "Attachment Alg1" column which is of the "image type," the Announcement column which is of the "multi line text" type, and the "Date and Time" column, which is of the "Date and Time" type. This list also includes a hidden column for attachments. I am going to create a Power App, which lists all my announcements in a tab of the corresponding team.
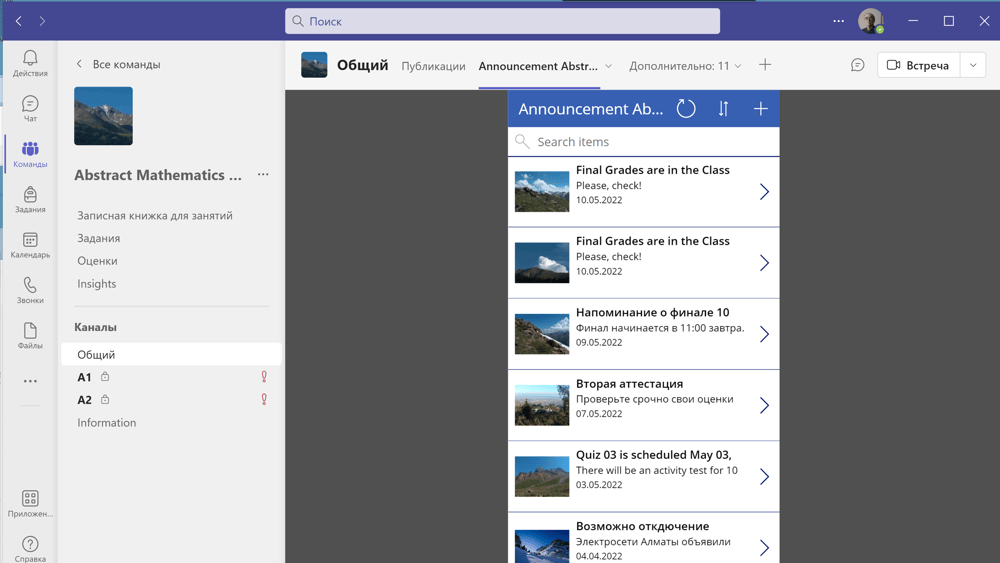
The advantage of this application is that recent announcements are at the top and there are no announcements made by different flows such as attendance, activity and others. This application allows students to revise important messages easily.
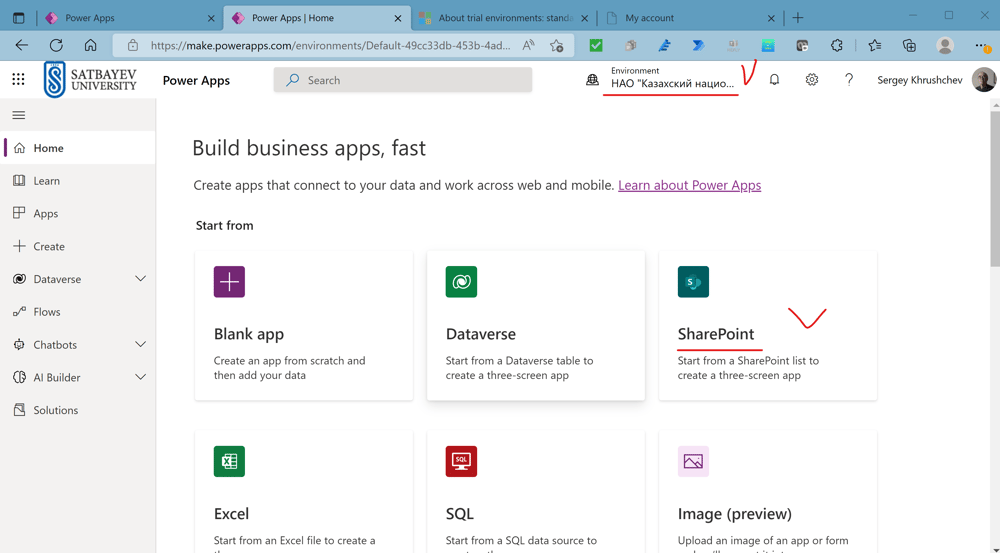
I open the Power Apps through https://office.com and chose the "SharePoint" connector. Following the screens, I connect my application to the SharePoint list shown at the very beginning.
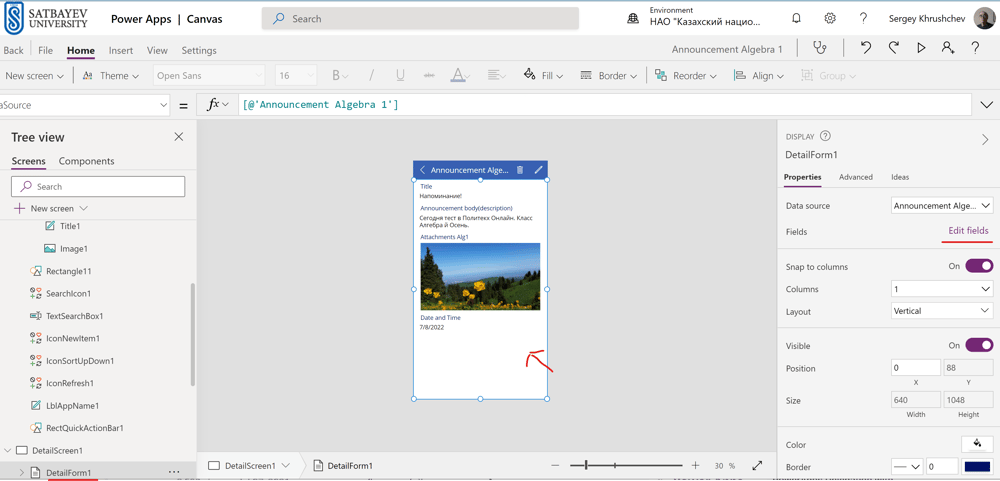
To open "DetailForm1," I click "DetailScreen1" and then click on the empty area as shown above. I get "Edit fields" on the right pane.
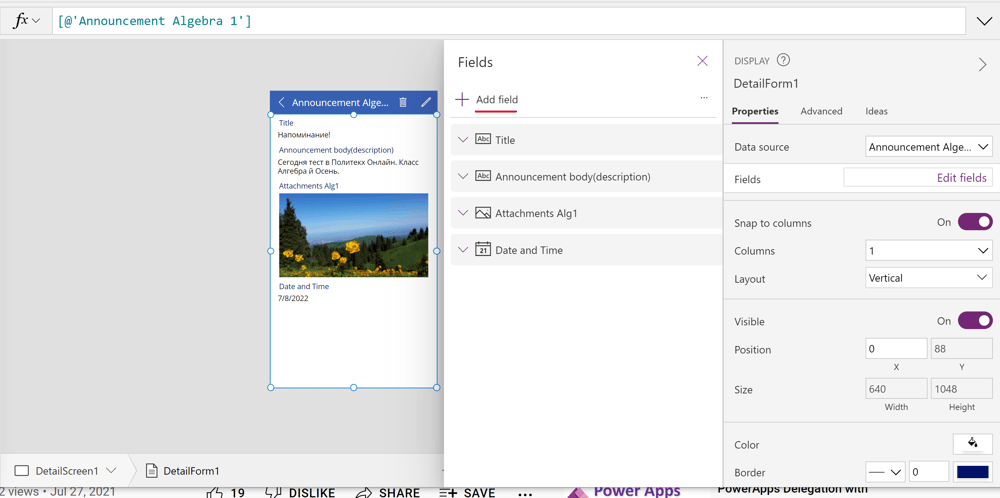
I click "Add field," see the picture above.
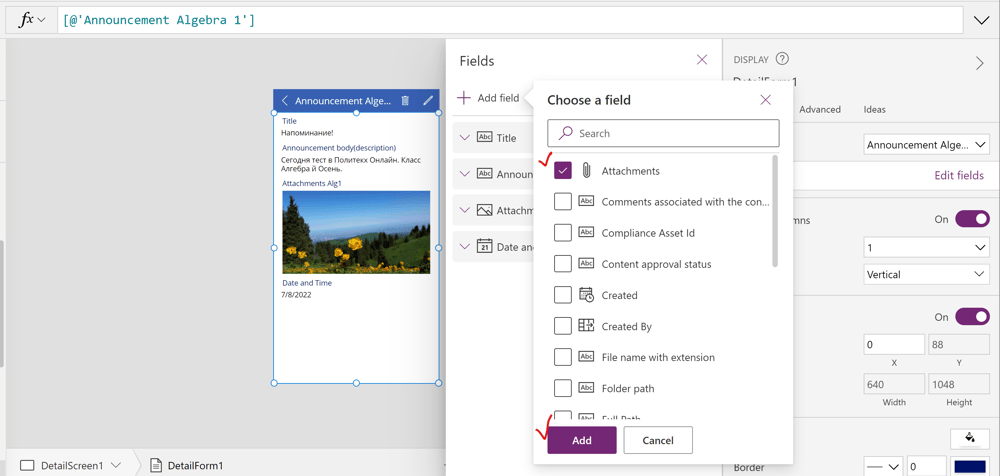
I mark the "Attachments" box and then press the button "Add."

I click at the bottom of the first record, which shows the "Sort" formula in the "fx" field at the top. I select this formula and delete it.
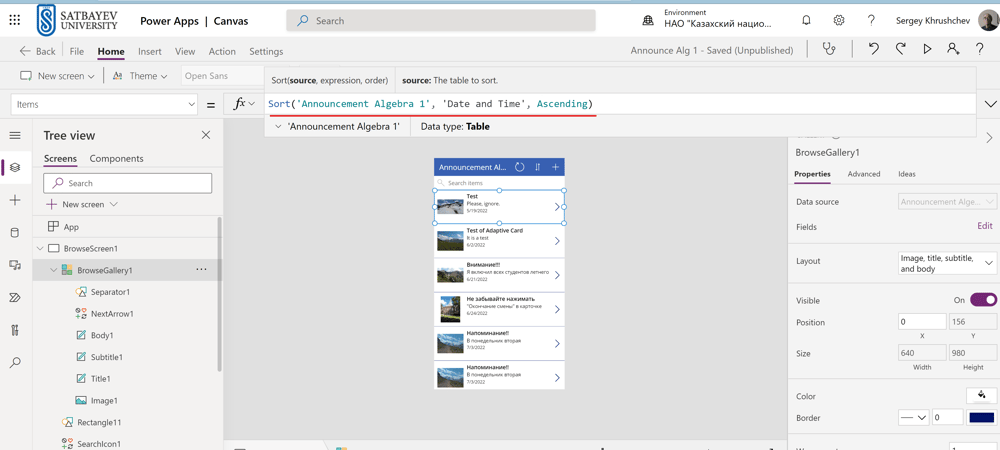
I retype a new formula, see the formula underlined in red.
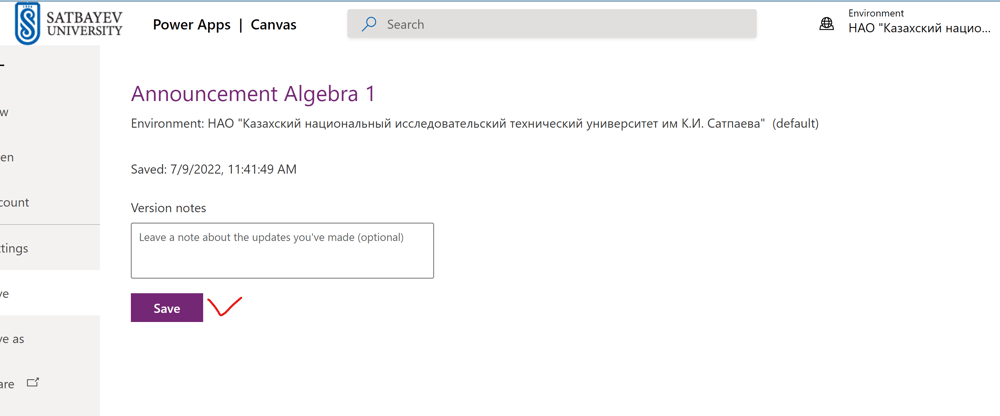
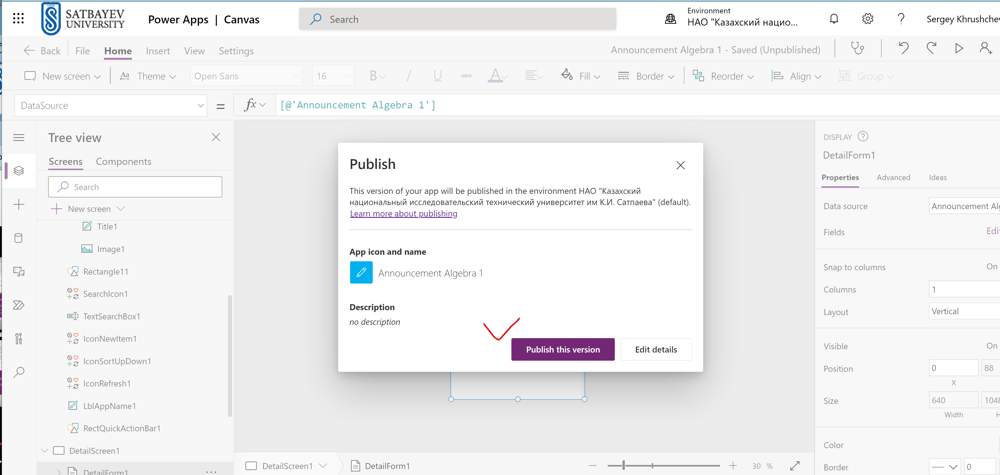
I save my application
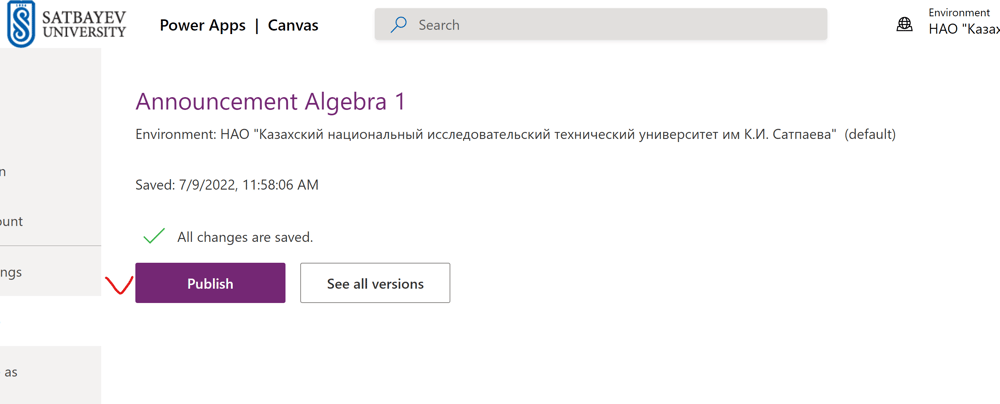
and publish it.
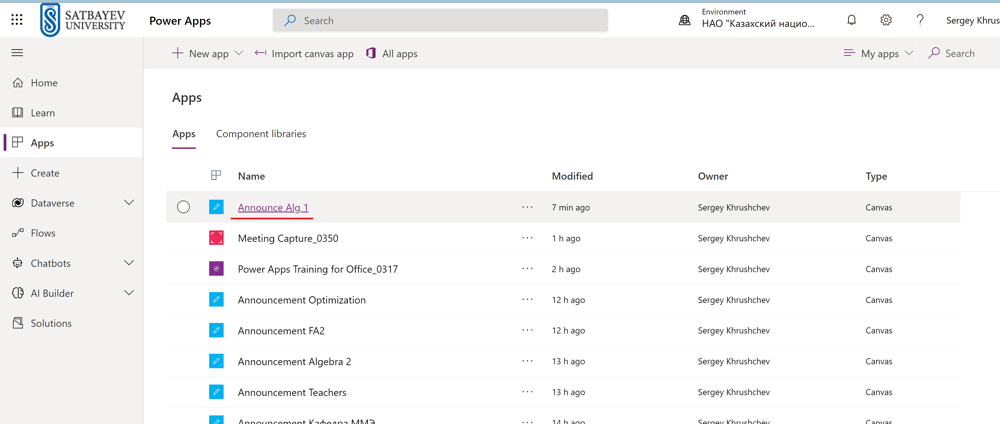
I close my application through the left pane and open the list of all my applications. I click "Announce Alg1." This opens the application in a separate window.
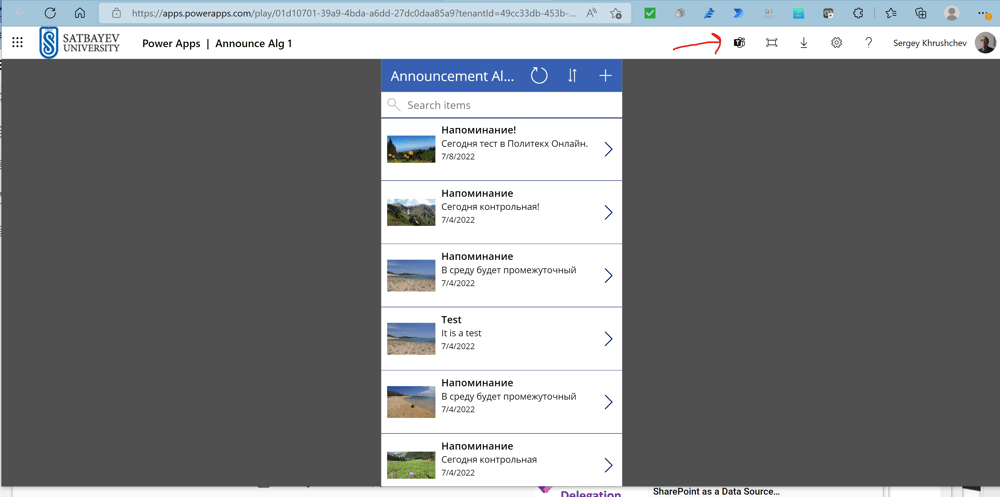
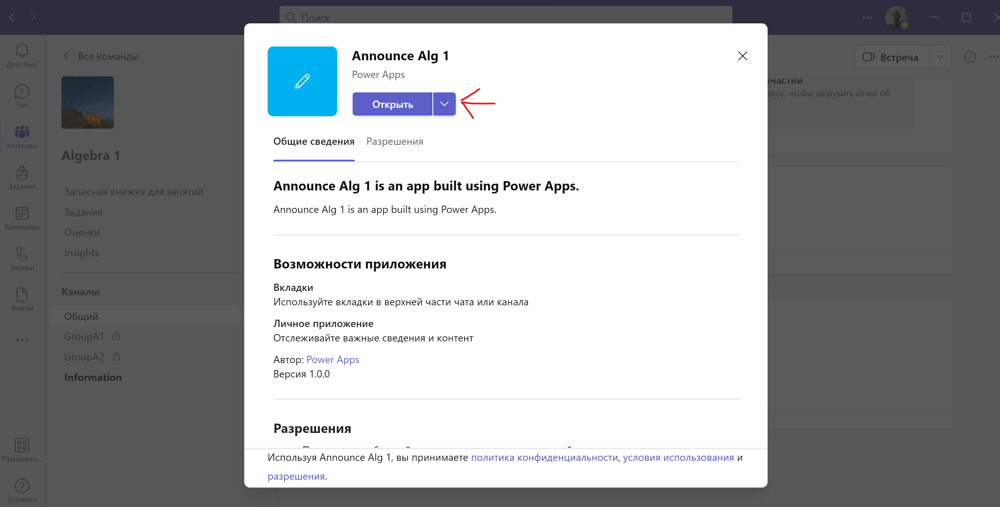
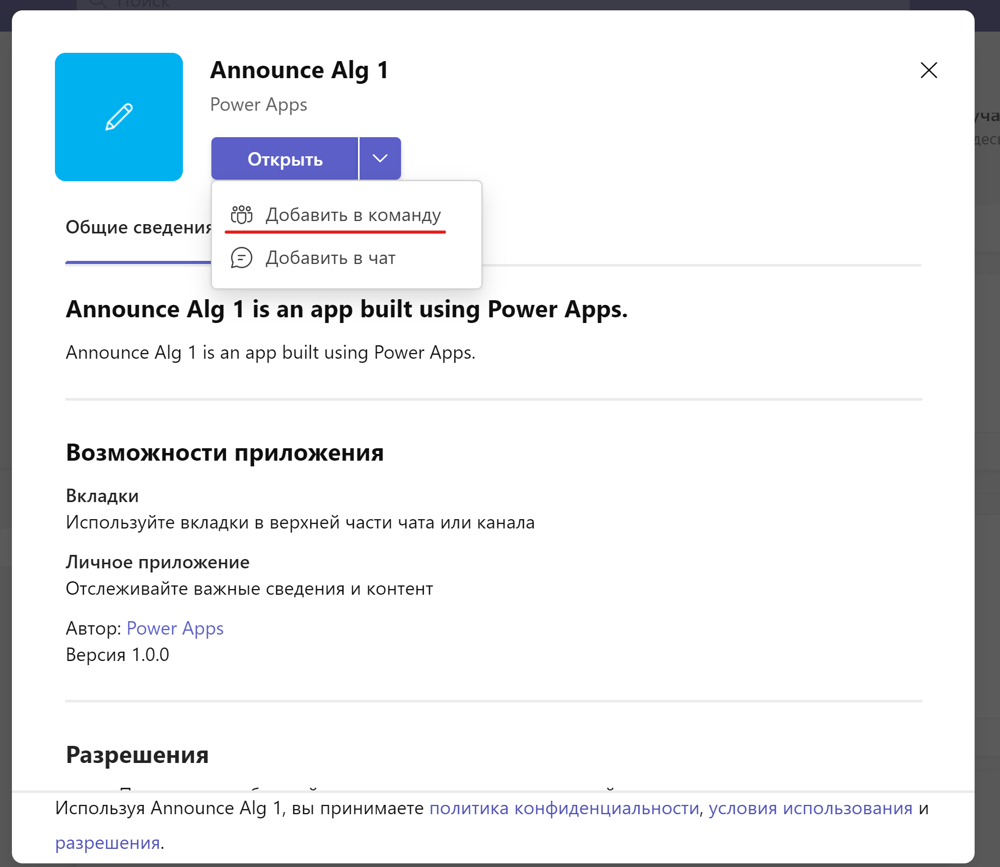
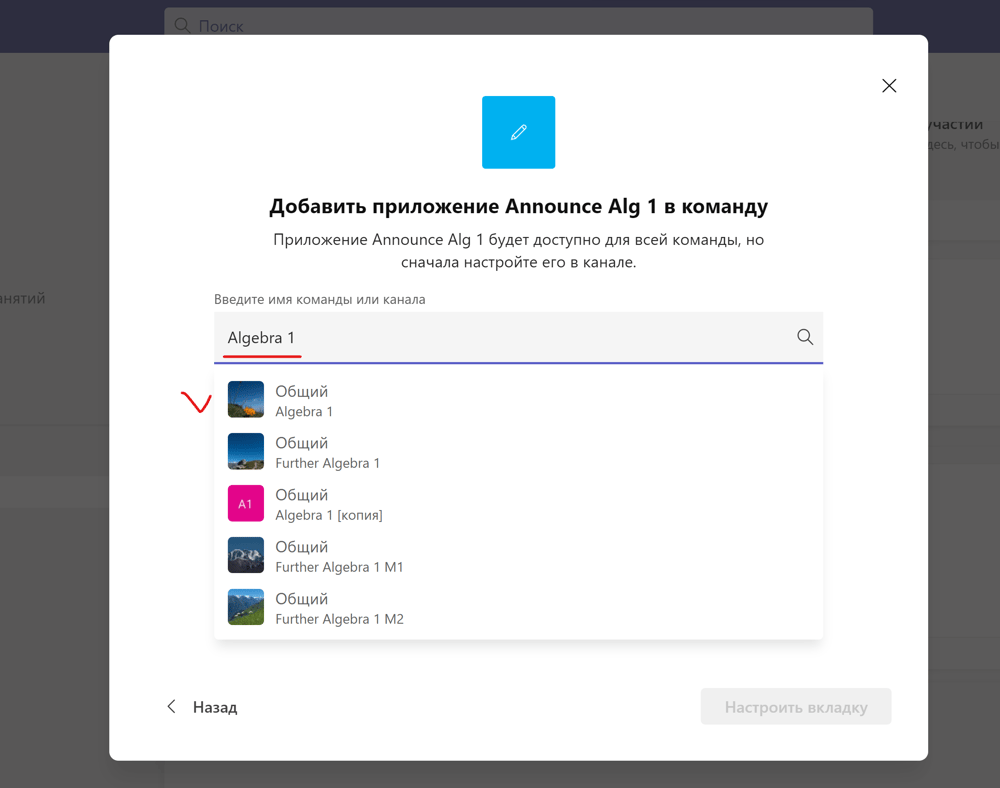
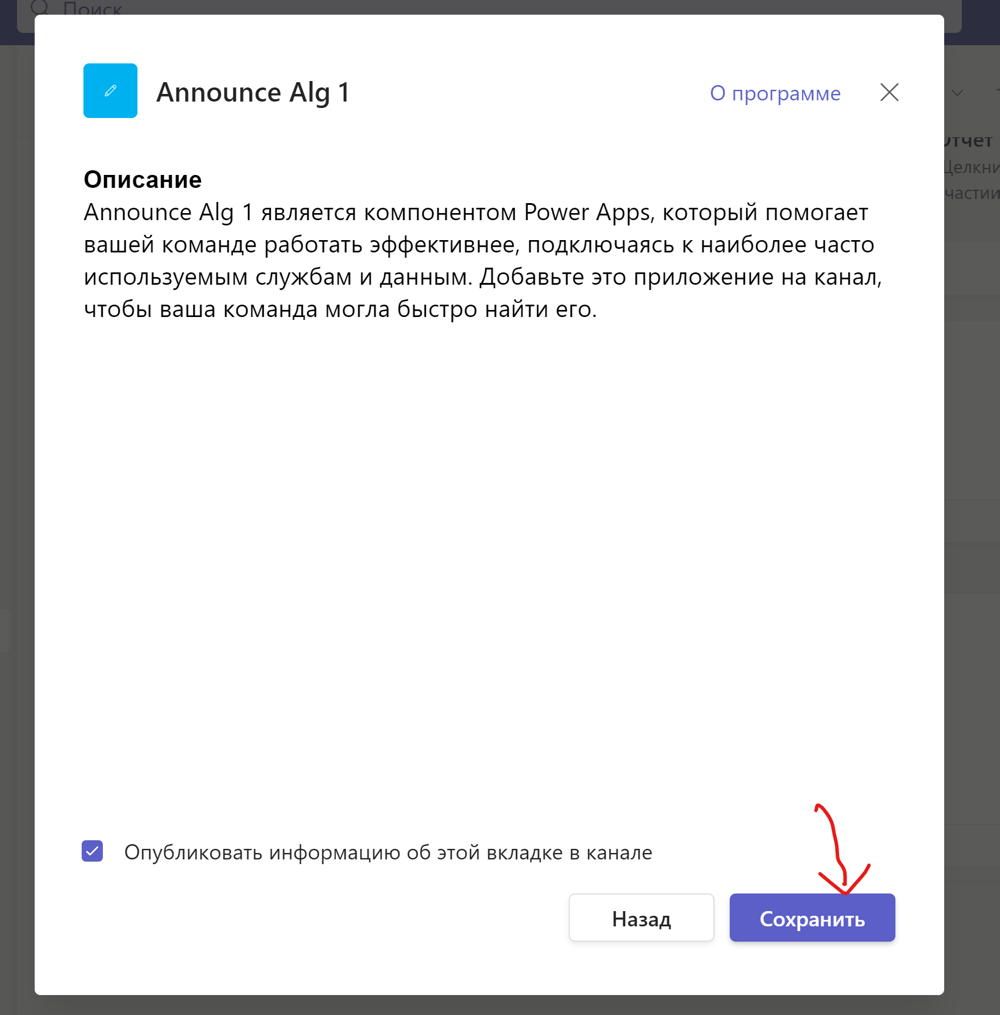
We see that the messages are ordered in the descending order of dates. I click the small teams icon shown at the top and follow the directions of the system.

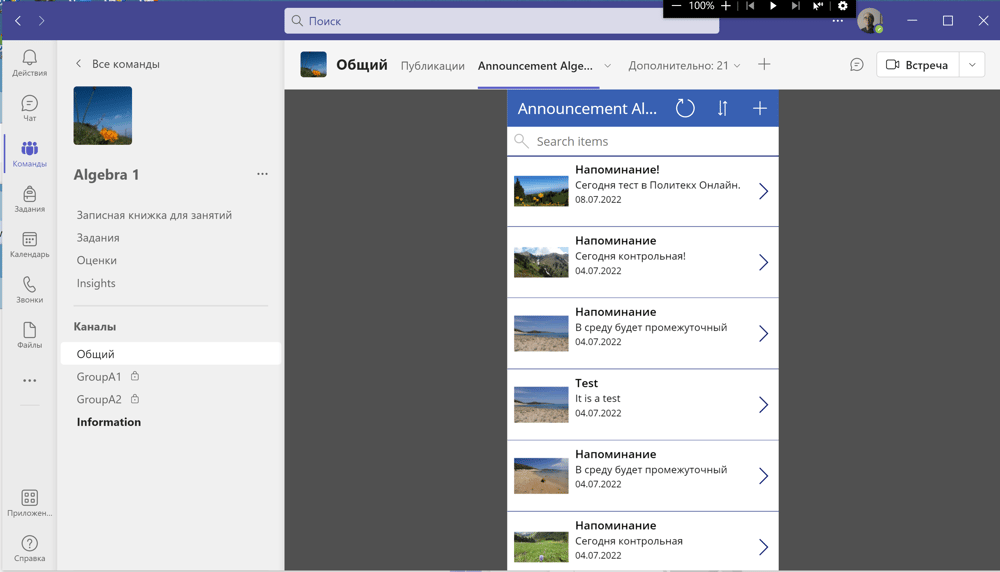
The application is ready. Students can open it also in the mobile version of Power Apps. In order students could see this application, it must be shared with them. Just open Power Apps through https://office.com. Next, select the "Apps" button on the left-hand pane and find your application in the list, see the picture below.
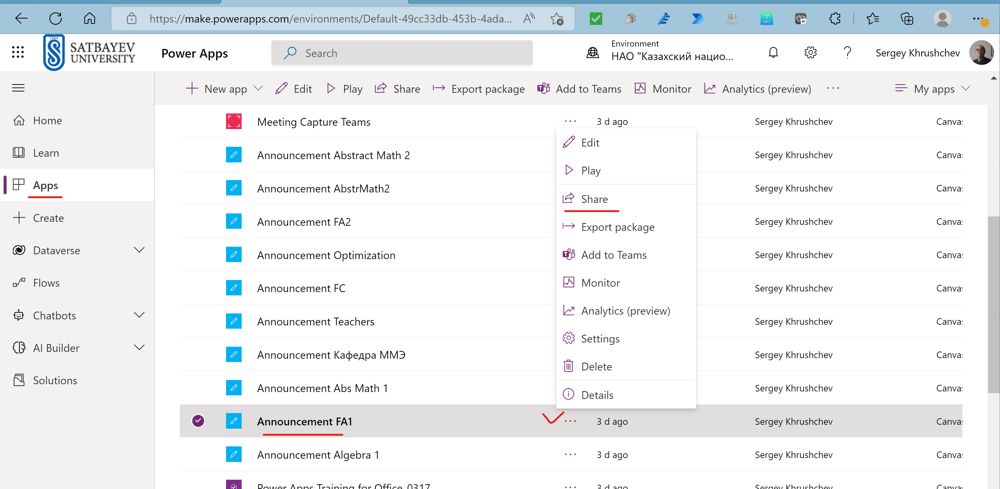
I press ellipsis and click "Share" in the uploaded window.
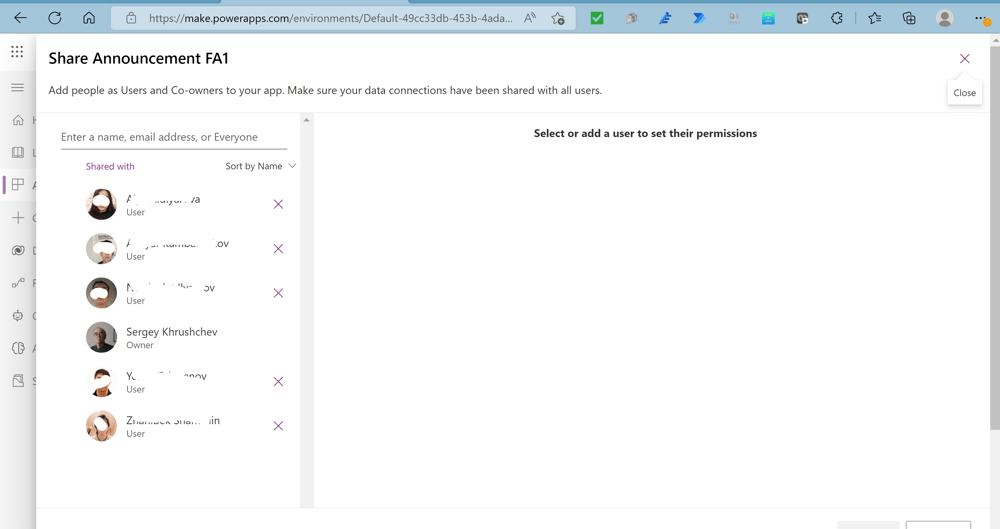
I enter students emails one by one to share the application with them. These students are the members of a Class Team. By default, these teams generate hidden Office groups. Dataverse for Teams is not available for such groups. It is closely related with Power Apps. Therefore, if the Department Team is created as a PLC team, then this group is unhidden and by default the security of this group is enabled. This means that I can enter the email address of the group and share the application with every teacher in the department. There is also a possibility to share it with Everyone in my Organization but I do not think that it is a vey good idea. My recommendation is to share applications with students one by one and with teachers by the email of the PLC team.
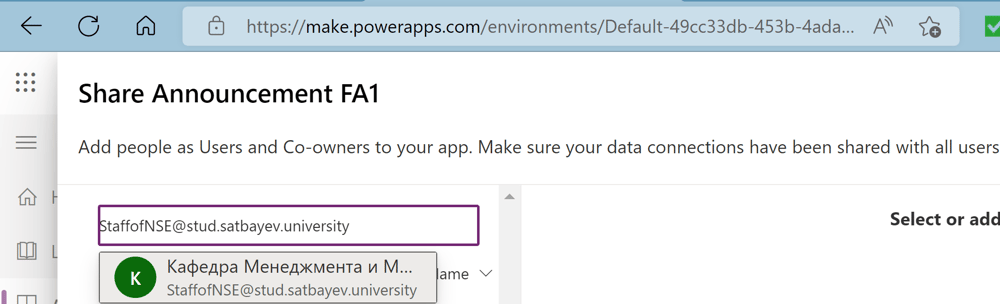
This is an example of sharing with an Office 365 Group of teachers. Notice that the name of this team was change. However, the Office 365 Group email remained as it was created for the first time. If you do not want to keep in mind all previous names of the team do not change its name.