Bulk Sharing of Applications in Teams of Class Type
Pic. 1
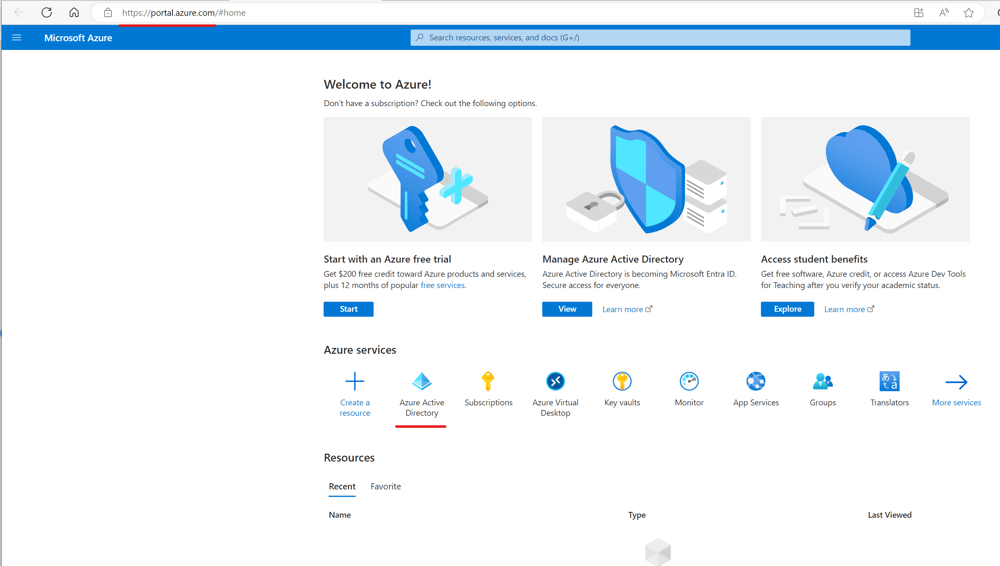
Welcome to Azure Portal
Any class in Microsoft 365 Education is a team of the Class type. These teams are private and Dataverse for teams cannot be installed in them. To the contrary, it can be installed for teams of the PLC type. The Power Apps service includes a part which is used to create applications for Dataverse. Basically, this is the reason, which does not allow to share permissions on a Power Apps application for the whole class of students. If you type the name of such team in the field for sharing, the system responds with nothing. It is true that educators can share their applications with everybody in the organization, but it is not at all a great idea to do this in case the application was designed specifically for a given class of students. In each of my classes, I have up to fifteen different applications and therefore sharing them with each student consumes a lot of time. The idea to change the type of any students' team is not acceptable due to great integration inside of Microsoft 365. It is absolutely necessary to follow the structure of ythis system. For exanple, if an educator decides to use a PLC team as student's team, then the Assignment program will be lost and the Class Notebook will look different.
To overcome this difficulties, let us observe that when an educator creates any team, the system creates a group in the Azure Active Directory which is associated not only with this team's group, but also with the groups in Outlook and SharePoint. For any PLC team this AAD group is visible in the share interface of Power Apps, Therefore, it looks reasonable to create a duplicate group in Azure AD and use it to share permissiona withe students. By default, the security in this group is enabled, which makes it visible in the sharing interface of Power Apps.
The creation of such a group begins with signing in to the Azure Portal, see Pic. 1. A click onto "Azure Active Directory" icon opens the "Overview" window of this portal, see Pic. 2. To open the interface for group creation in AAD, follow Pic.2-4.
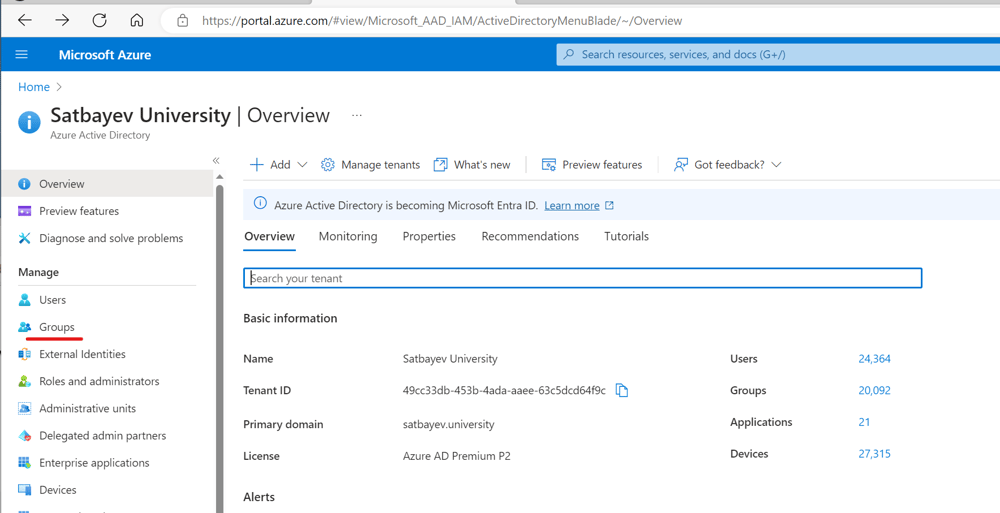
Pic. 2
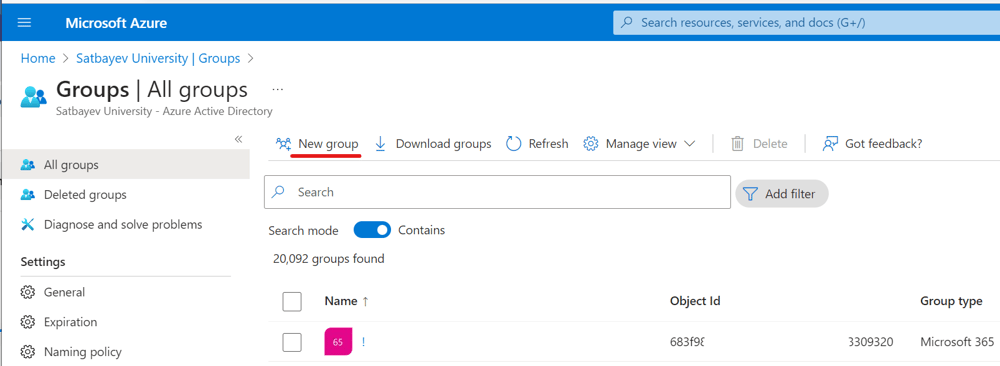
Pic. 3
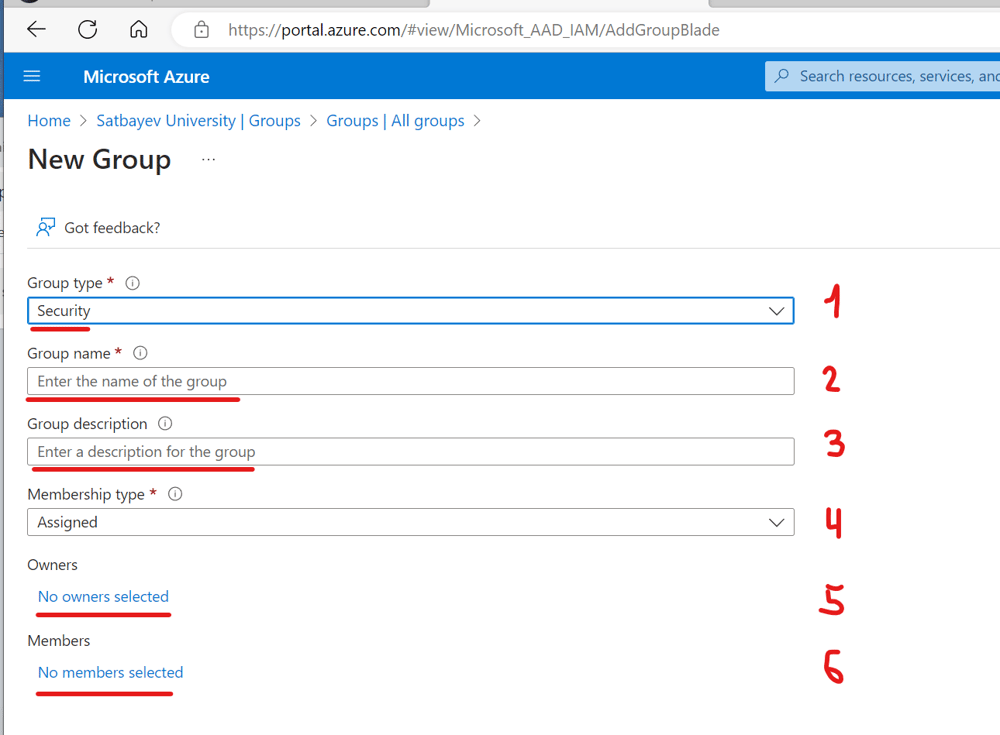
Pic. 4
New Security Group
Field 1 must include the "Security" type, which is a default type. If the name of the team is "Algebra 1," then it is recommended to assign "Algebra 1 A" as the name of the duplicate group in Field 2. The description field is not obligatory, but it is a good idea to write in it something like this: "It is a copy of the Algebra 1 group." The membership type must be "Assigned," as it is shown in Pic. 4. A click on blue text "No owners selected" allows to the educator to get the role of the owner in this group. To add members manualy, you should click "No members selected," see Pic. 5.
Pic. 5
Add members manualy
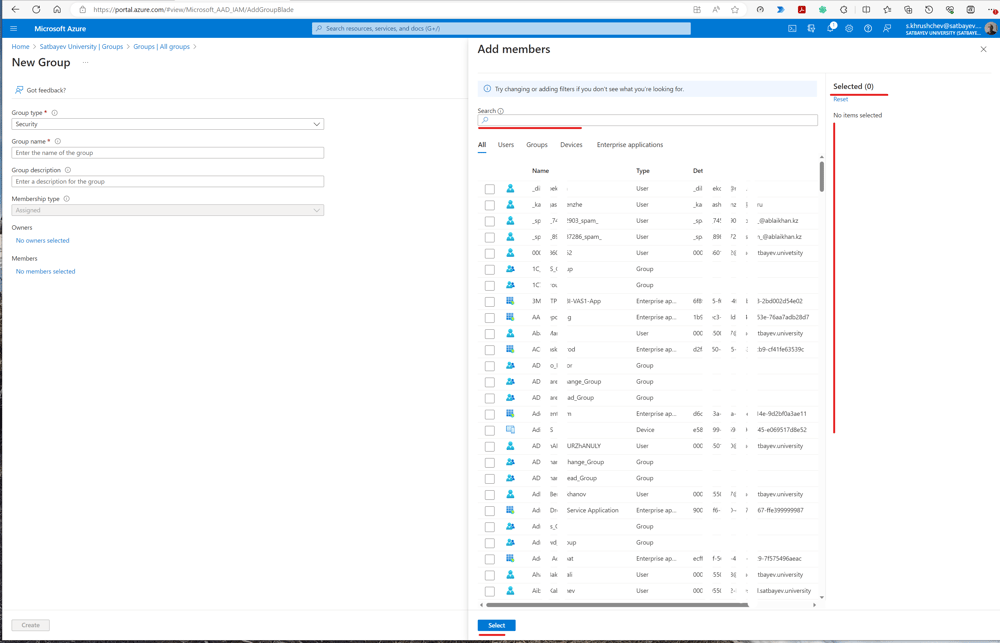
The interface includes the left part of the window and the right part. Its left part duplicates the interface of the New Group shown in Pic, 4. The right part on the left pane displays all members of the system with the search window at the top. You may start typing the Display Names of students in it following the mambers list in the team which can be opened by the "Manage team" option throug the ellipsis shown to the right of the team's name. When you type the beginning of the Display Name or the email address, the system presents the list of available name options with the boxes in front of them. Then you mark the box, the corresponded student's Display Name appears in the right pane. Following the list of Display Names, the educator can insert all required memebers to the right pane. To complete the process, the educator clicks the "Select" icon at the very bottom of the window.
Pic. 6
Adding students in bulk
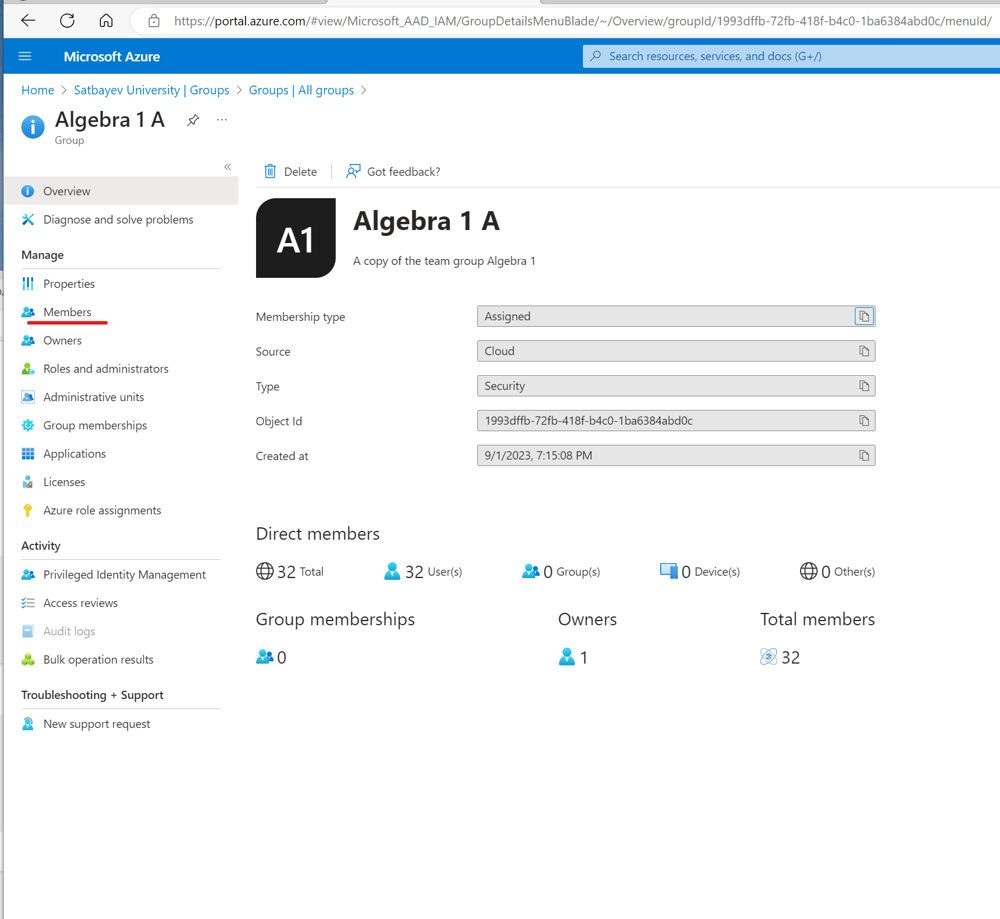
It is also possible to add students to this new group from a csv Excel file. Click the "Members" line on the left pane of the group window as shown in Pic. 6.
Pic. 7
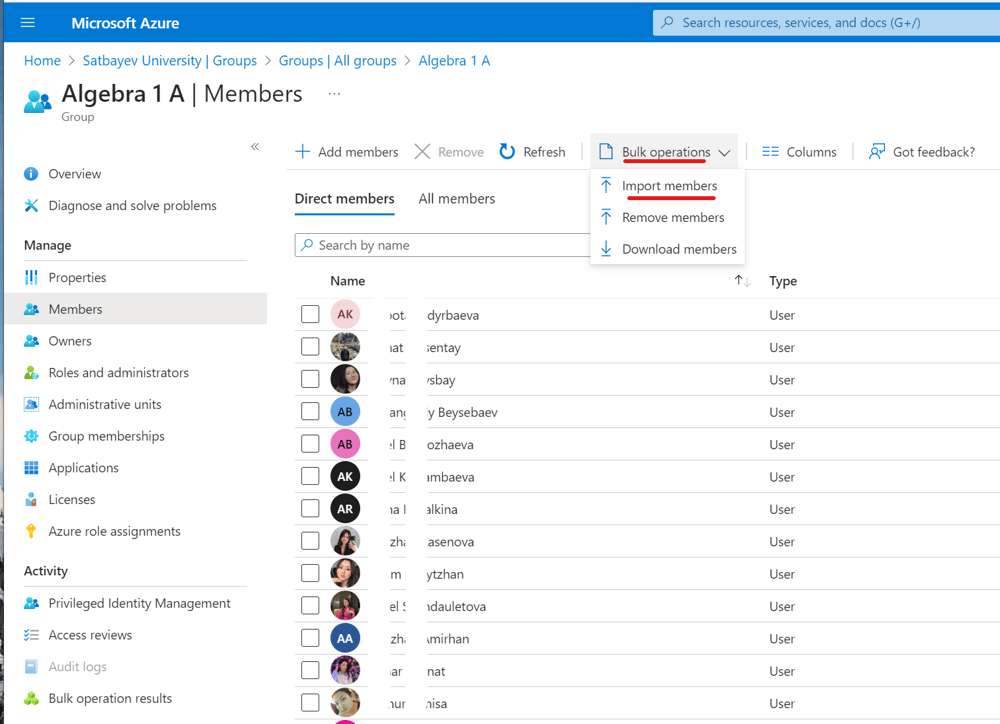
Expand the "Bulk options" line at the top menu and click the "Import members" option.

Pic. 8
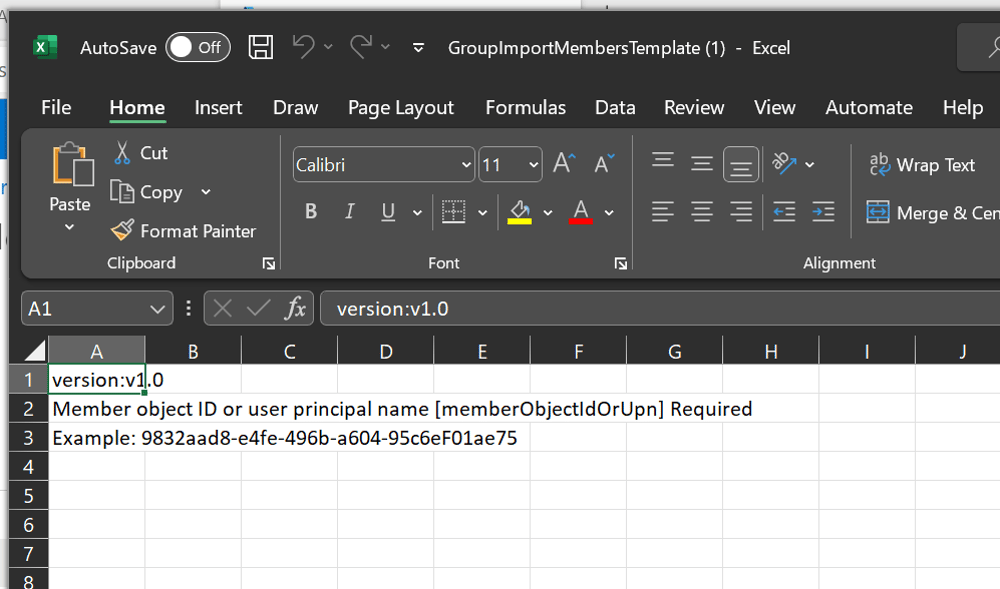
Add The preceeding actions open a new interface shown in Pic. 8. A click on the "Download" button delivers the template of the csv Excel file shown in Fig. 9.
Pic. 9