Power Automates for SharePoint Lists Updates

The purpose of this page is to describe flows updating teacher's Grades Books on the SharePoint site of the Department from the Grade Books in special teacher's sites.
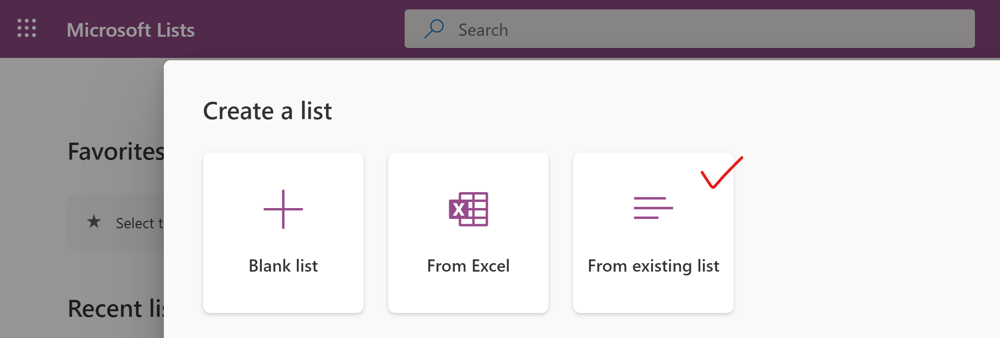
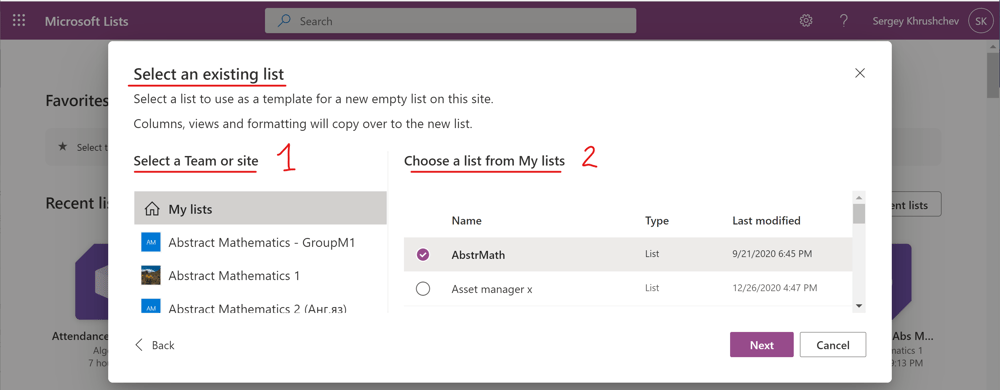
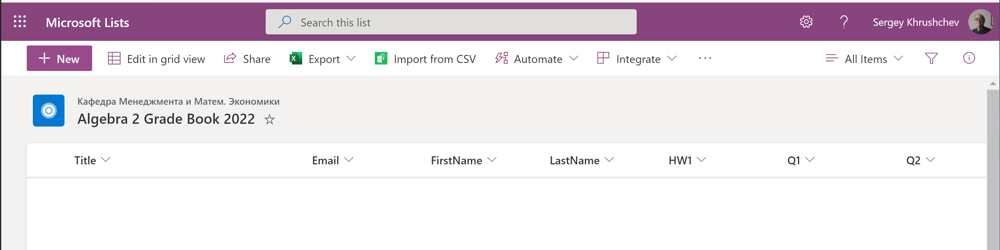
Following Microsoft’s instructions given here, I copy my grade book to the department’s SharePoint site. The Microsoft Lists program creates a new list in the destination using the source list as a template, see pic. 1-6. I unhide all important columns in the source list first for a correct transaction. As result, I obtain a new list with the same names and types of columns. No data from the source list are transformed to the destination list. To get the destination list with the data, you can export the source list of all data to an Excel file, and after that create from it a new list with data in the destination SharePoint site. However, in this case you will be forced inserting list formulas for each calculated column in the destination list and format rows’ style again. In my case, there are three such columns. Therefore, it is more reasonable to apply the first method. Then I just use the flow from the page and the page to copy the source list data to the destination. Moreover, if a big group of new students appears, you may edit the source Excel file for this flow to remove already present students in the Grade Book and run the flow again. All students from this group will be added to the Grade Book with correct permissions.
Pic. 1

Pic. 2
Pic. 3
Pic. 4

Pic. 5
Pic. 6
Pic. 7
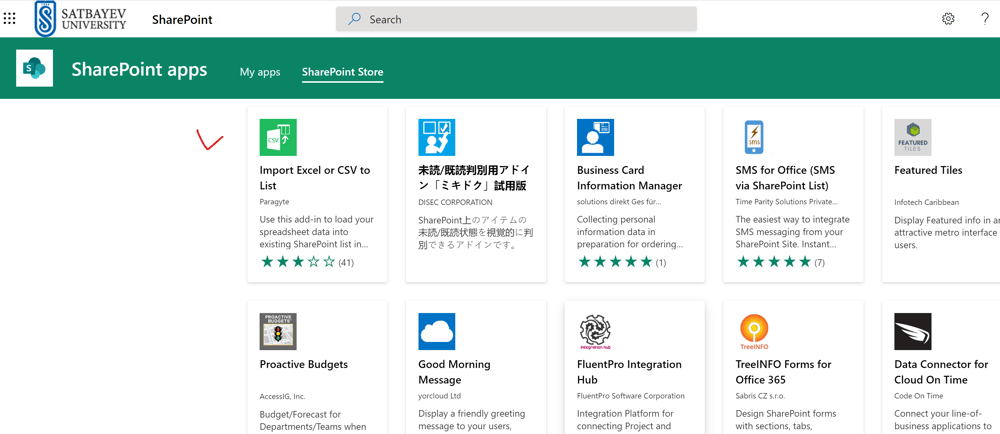
There is a free SharePoint application “Import Excel or CSV to List.” It can be used to import data from an Excel CSV file to the SharePoint list even if it is filled with some data already. This application does not touch the computational columns. One can get it from the Microsoft AppStore here or directly from the SharePoint Store, see pic. 7. However, it does not transfer the permissions. Therefore, I think that the best choice is the Power Automate described in §3.5. The module granting access to the list can be dropped or used to restrict access for other teachers to the copies of my Grade Books. Then I obtain a ready list and can give access to it for any owner of the SharePoint site.
Now I can construct a flow updating the destination Grade Book in the department’s SharePoint site. It is an automatic cloud flow which is activated by SharePoint trigger “When an item is created or modified.” In general, the columns’ names in two lists are not necessary be the same. However, there must be at least one column in both lists, which uniquely identifies the lists’ rows. All Grade Books include the column “Title,” which lists all student’s IDs. Therefore, it suits for this purpose best. To create the flow, I press “+ Create” on the Power Automate Page, choose “Automated cloud flow,” and select in the opened window the required trigger.
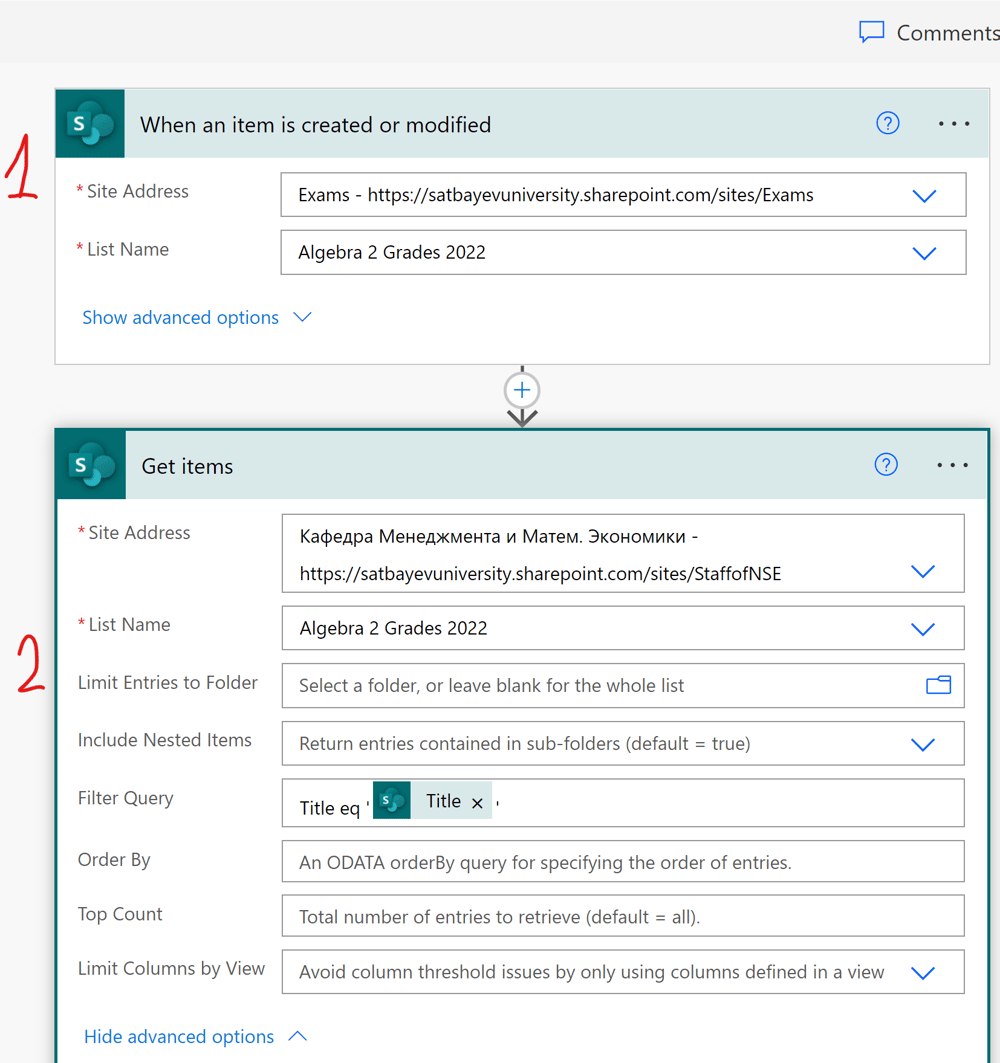
The first box, see 1 on pic. 8, collects the modified rows (items) in the source list, whereas the second, see 2 on pic. 8, “Get items” form specifies the data to be transformed to the destination list. There is an important field in this form called “Filter Query.” It can be accessed through “Show advanced options” at the bottom of the form. When the data in some fields of the source list are modified, the flow calculates the value in the Title column of this row and keeps it in the dynamical icon  from the source list. When I type Title eq ‘ ‘in the “Filter Query” field of the second form, the flow gets the information which rows in the destination list must be updated. This formula shows to the flow that the modified data must be inserted at the proper place. The dynamical icon must be surrounded by the two single quote marks.
There are two possibilities: either the row in the destination list already exists or there is no row with such a title. The latter happens if you add a new student to the Grade book manually. One can drop this, but then a teacher will be forced to add a student ID to the Title column of the destination list manually. Later, if the teacher inserts any grade, for instance, for the first homework, the flow recovers all cells for this student automatically.
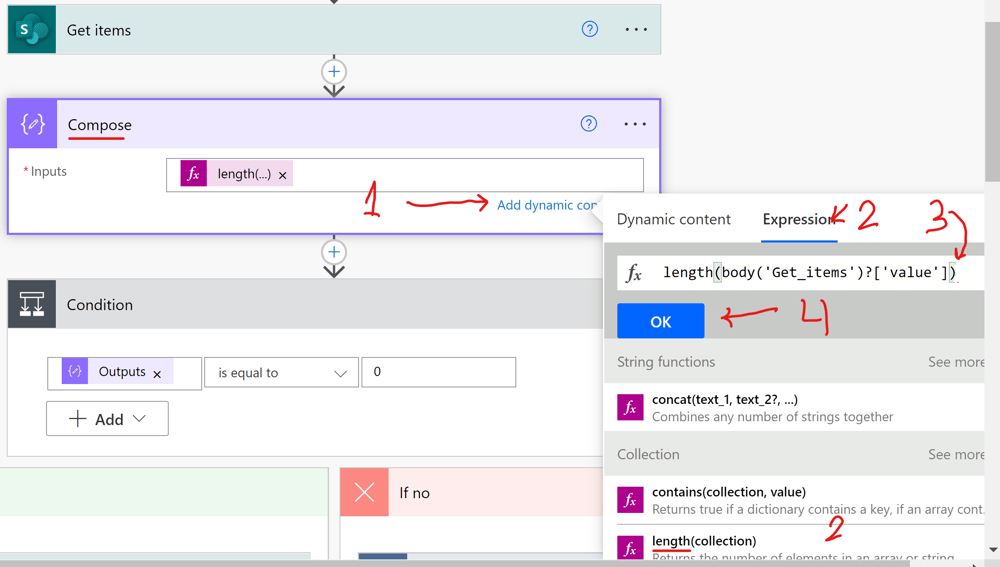
In 2019, Microsoft introduced important changes to the interface of the “Condition” action. Therefore, the recommendations given here are not valid anymore. The option “Edit in advanced mode” just does not exist. To get the flow described by the Microsoft support, I select “Compose” as the action followed the “Get items” box, see pic. 9. The input of the “Compose” box must be filled through the “Add dynamic content” option, see 1 on pic. 9. It has two tabs. I choose the Expression tab, see 2, pic. 9. I select the “length(collection)” in the drop-down menu.
Pic. 8
A complete guide on using functions, including “length” and “body,” in expressions can be found here. I insert codes between the parenthesis of “length” to obtain the following code:
Pic. 9
Finally, I press the “OK” button. After that I add the “Condition” action and insert in its left box the “Outputs” icon from the dynamical interface.

Pic. 10
This icon appears in the drop-down menu as soon as you put the mouse cursor in this box. Using the check mark in the middle box, I select “is equal to,” if it is not present. Finally, I type the zero symbol at the third box, see pic. 10.
Pic. 11
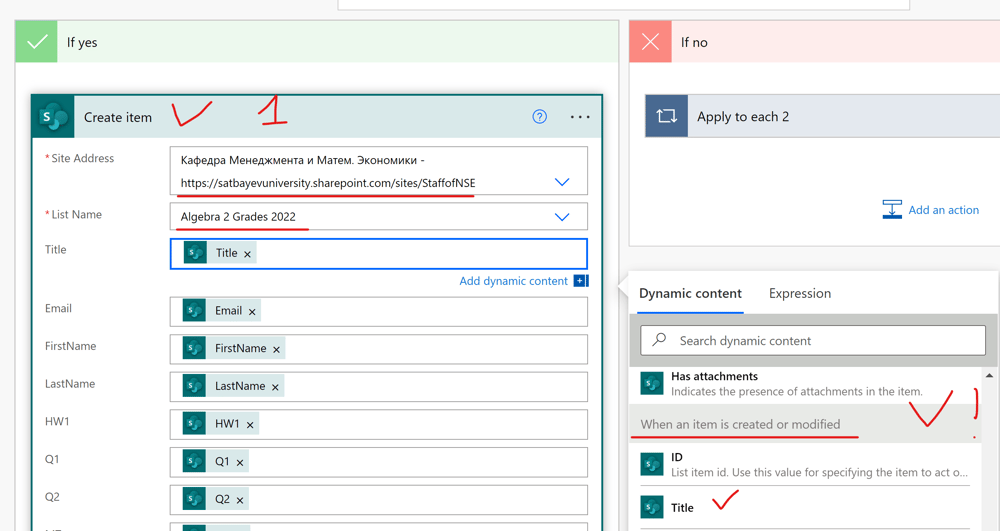
If the output of the “Compose” box is zero (it is the case if a new student is added to the source Grade Book), then the flow activates its “If yes” section. In this section I added the “Create item” action, see pic. 11. I include the destination site and list and fill the table using the dynamical icons. There are two lists of icons in the drop-down window. The first list includes the icons for the destination list. I need the second one which shows the icons below the row “When an item is created or modified,” which correspond to the first list. If the output of the “Compose” box is not zero (students’ grades were updated in the source list for students already present in the destination list), then the flow runs the “If no” section.

Pic. 12
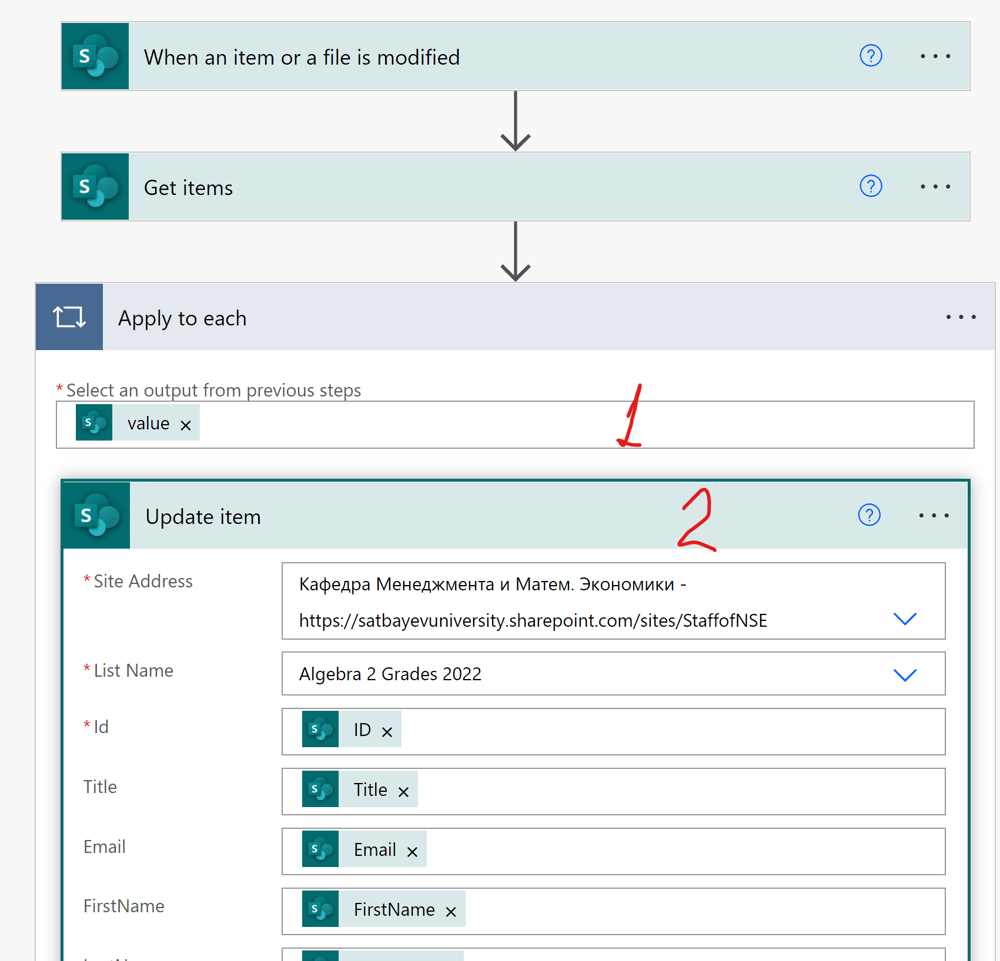
I press “Add an action” in the “If no” box and select the “Update item” action. This automatically includes this form into the “Apply to each” action. I select “value” in the “Get item” part of the proposed icons and insert into the “Apply to each” box. Then I fill the “Update item” form. The ID field corresponds to the destination list. Other fields are filled with the icons corresponding to the source list similar to the first case. The flow is saved and can be tested.
Pic. 13
Pic. 14
A simplified flow excluding the possibility of updating new students from the source list is shown on pic. 13-14.