Digitizing students' papers in Teams

Microsoft Lens mobile
It is important to have a simple technology in teaching which allows students to transform their handwritten solutions into printed PDF images below the statements of problems in the Class Notebook in Teams.
The first step in the presented algorithm is to install the application shown on the right picture to the mobile phones of students.
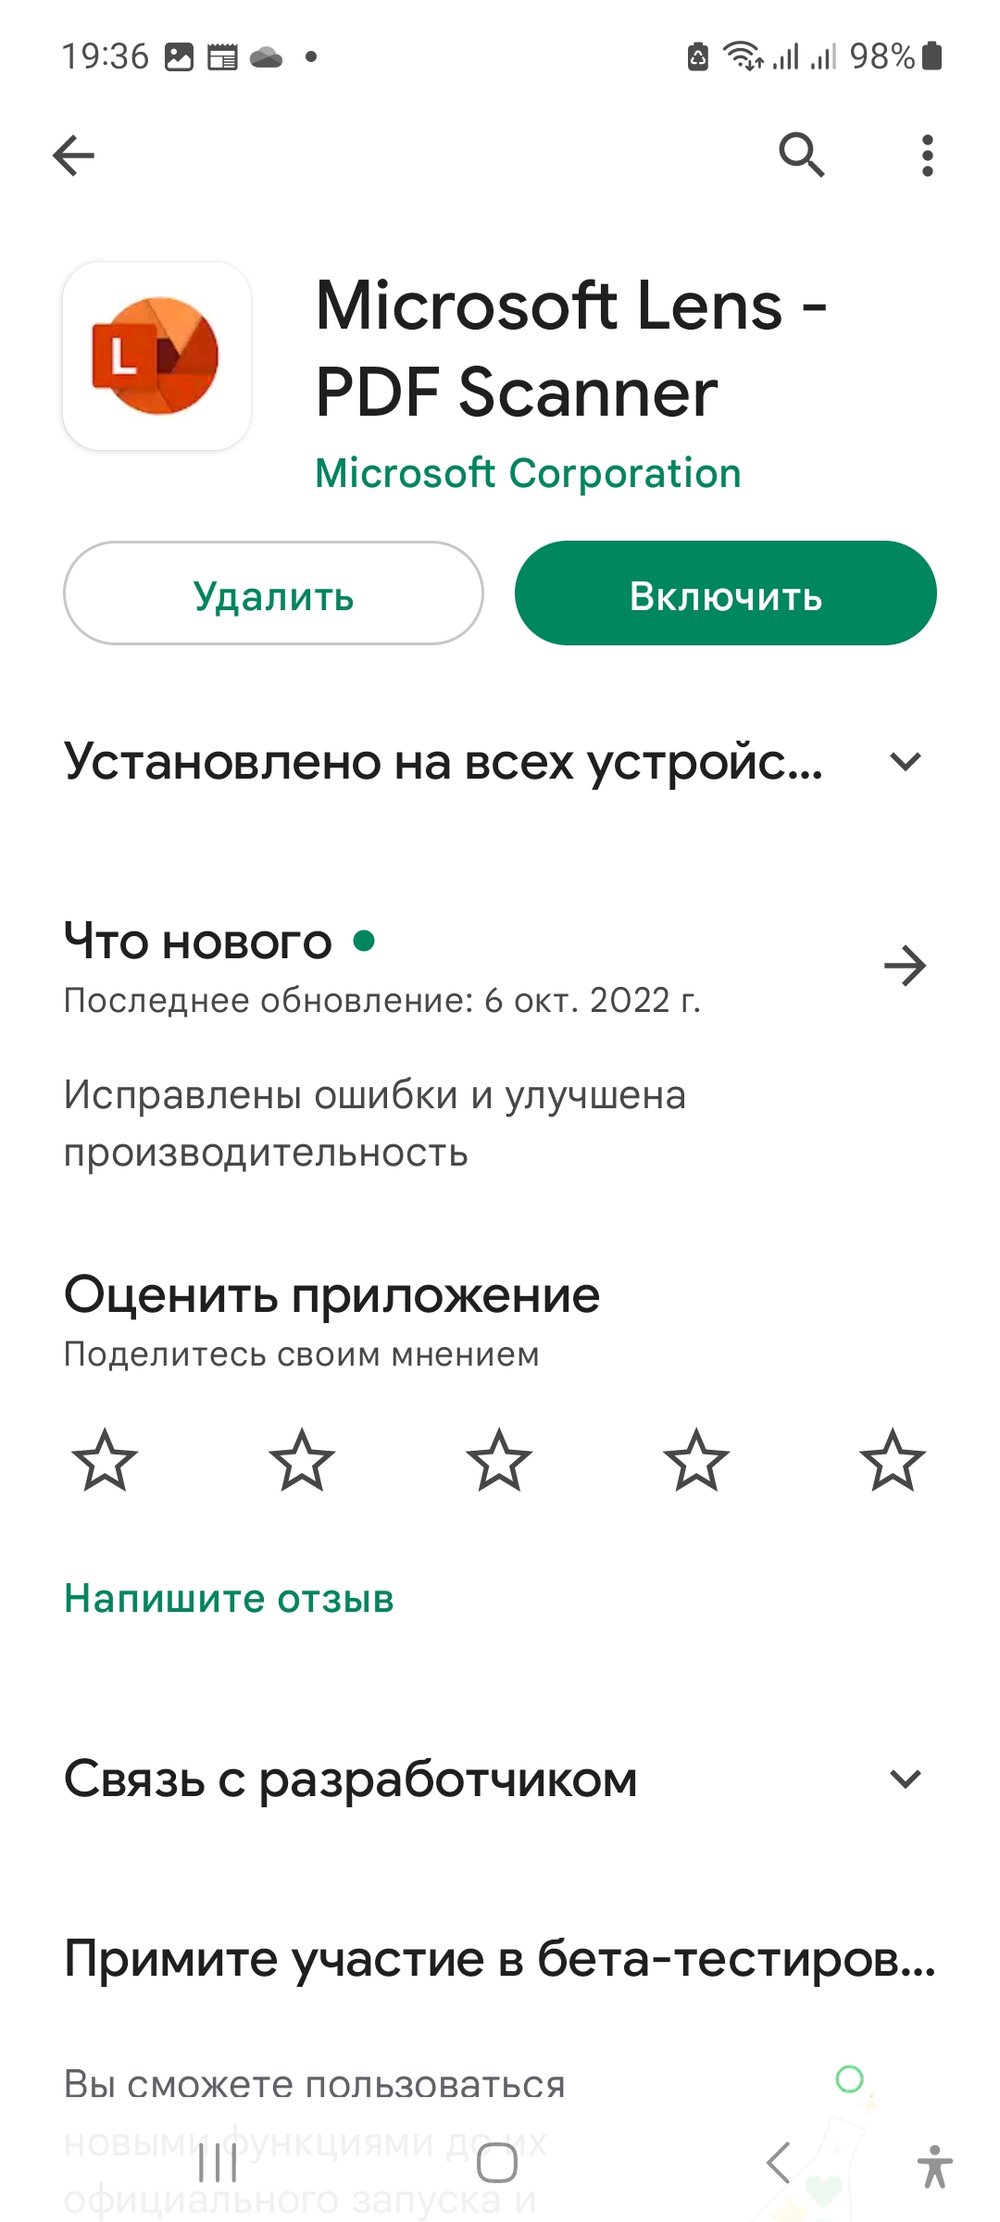
Microsoft Lens
A student opens this application, confirms all permissions including the access to the camera, fixes the image to be scanned and presses the circular button at the bottom.
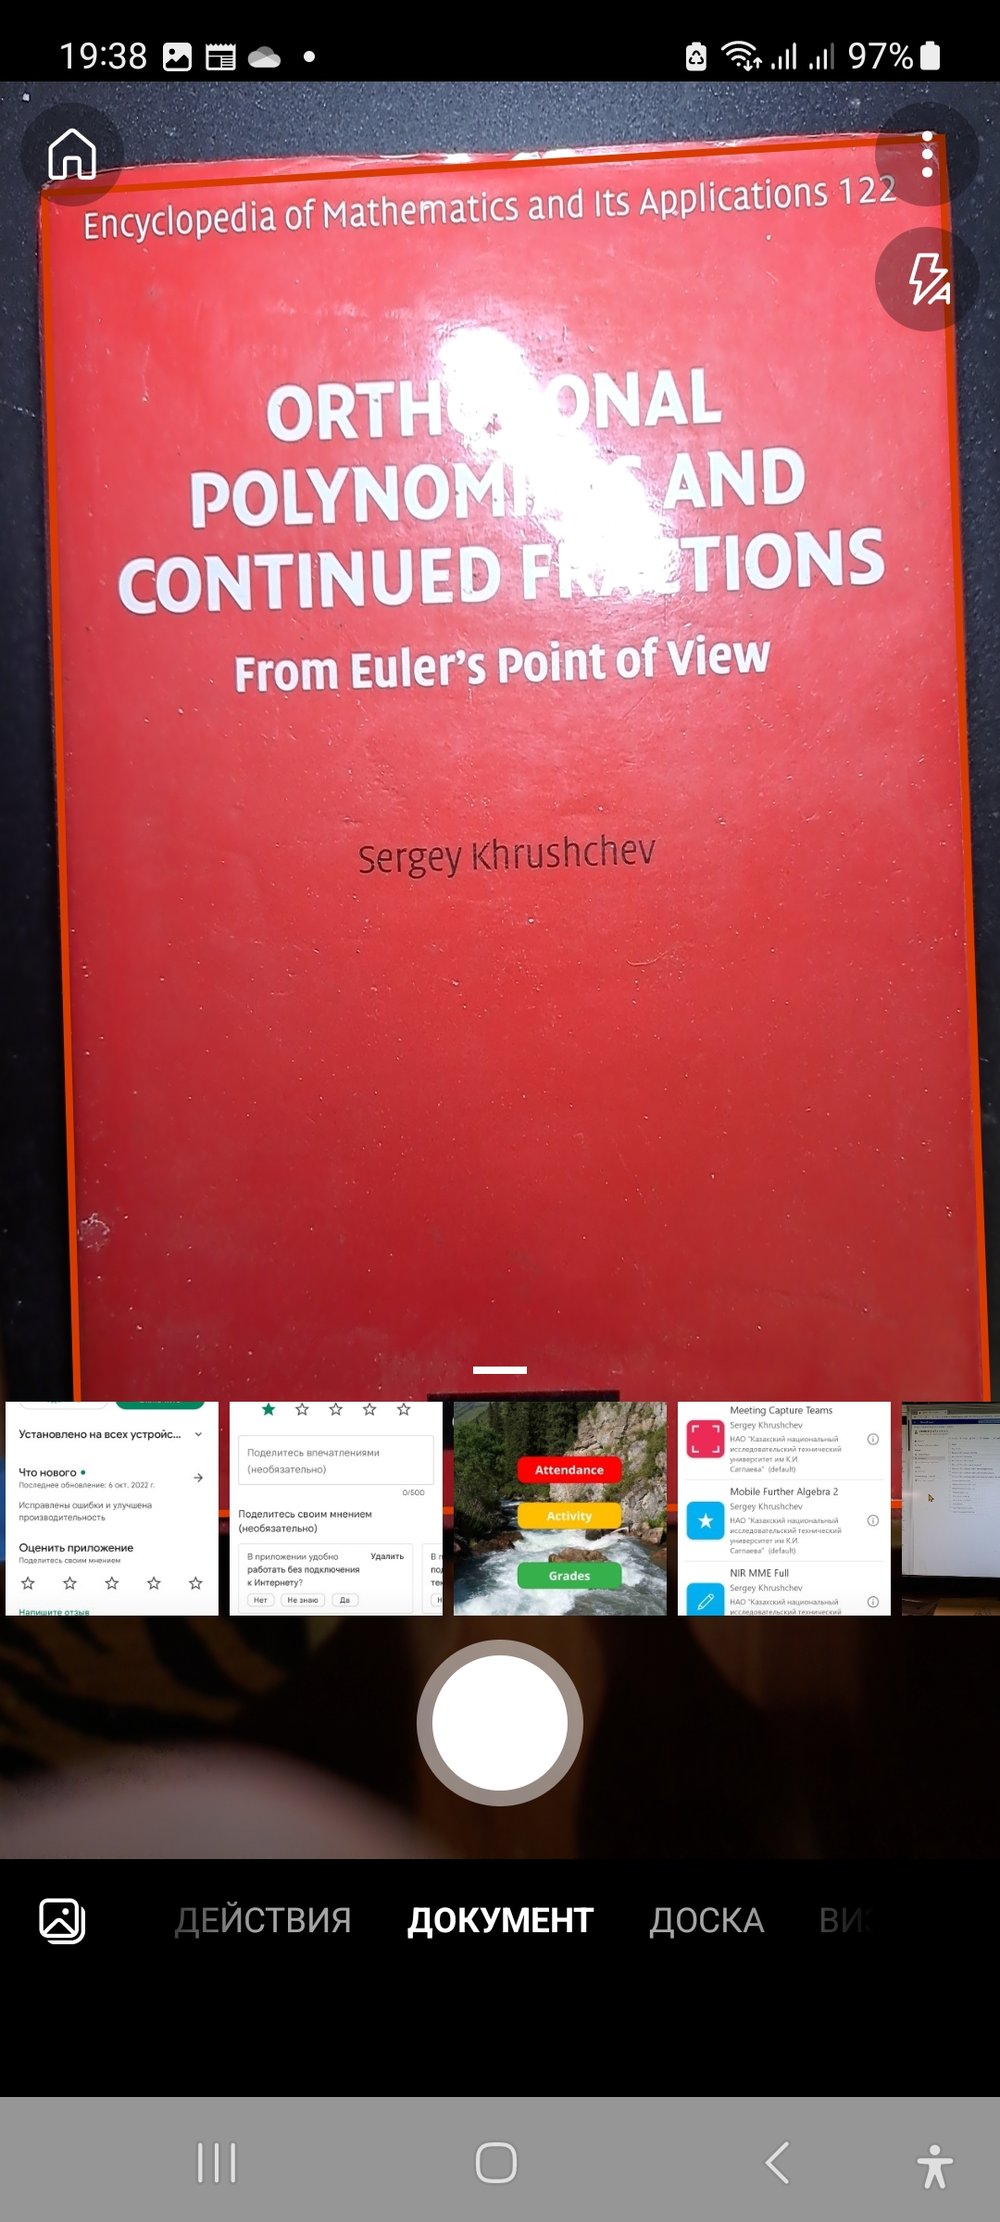
Microsoft Lense
When the image is ready, students press the orange button "Готово."
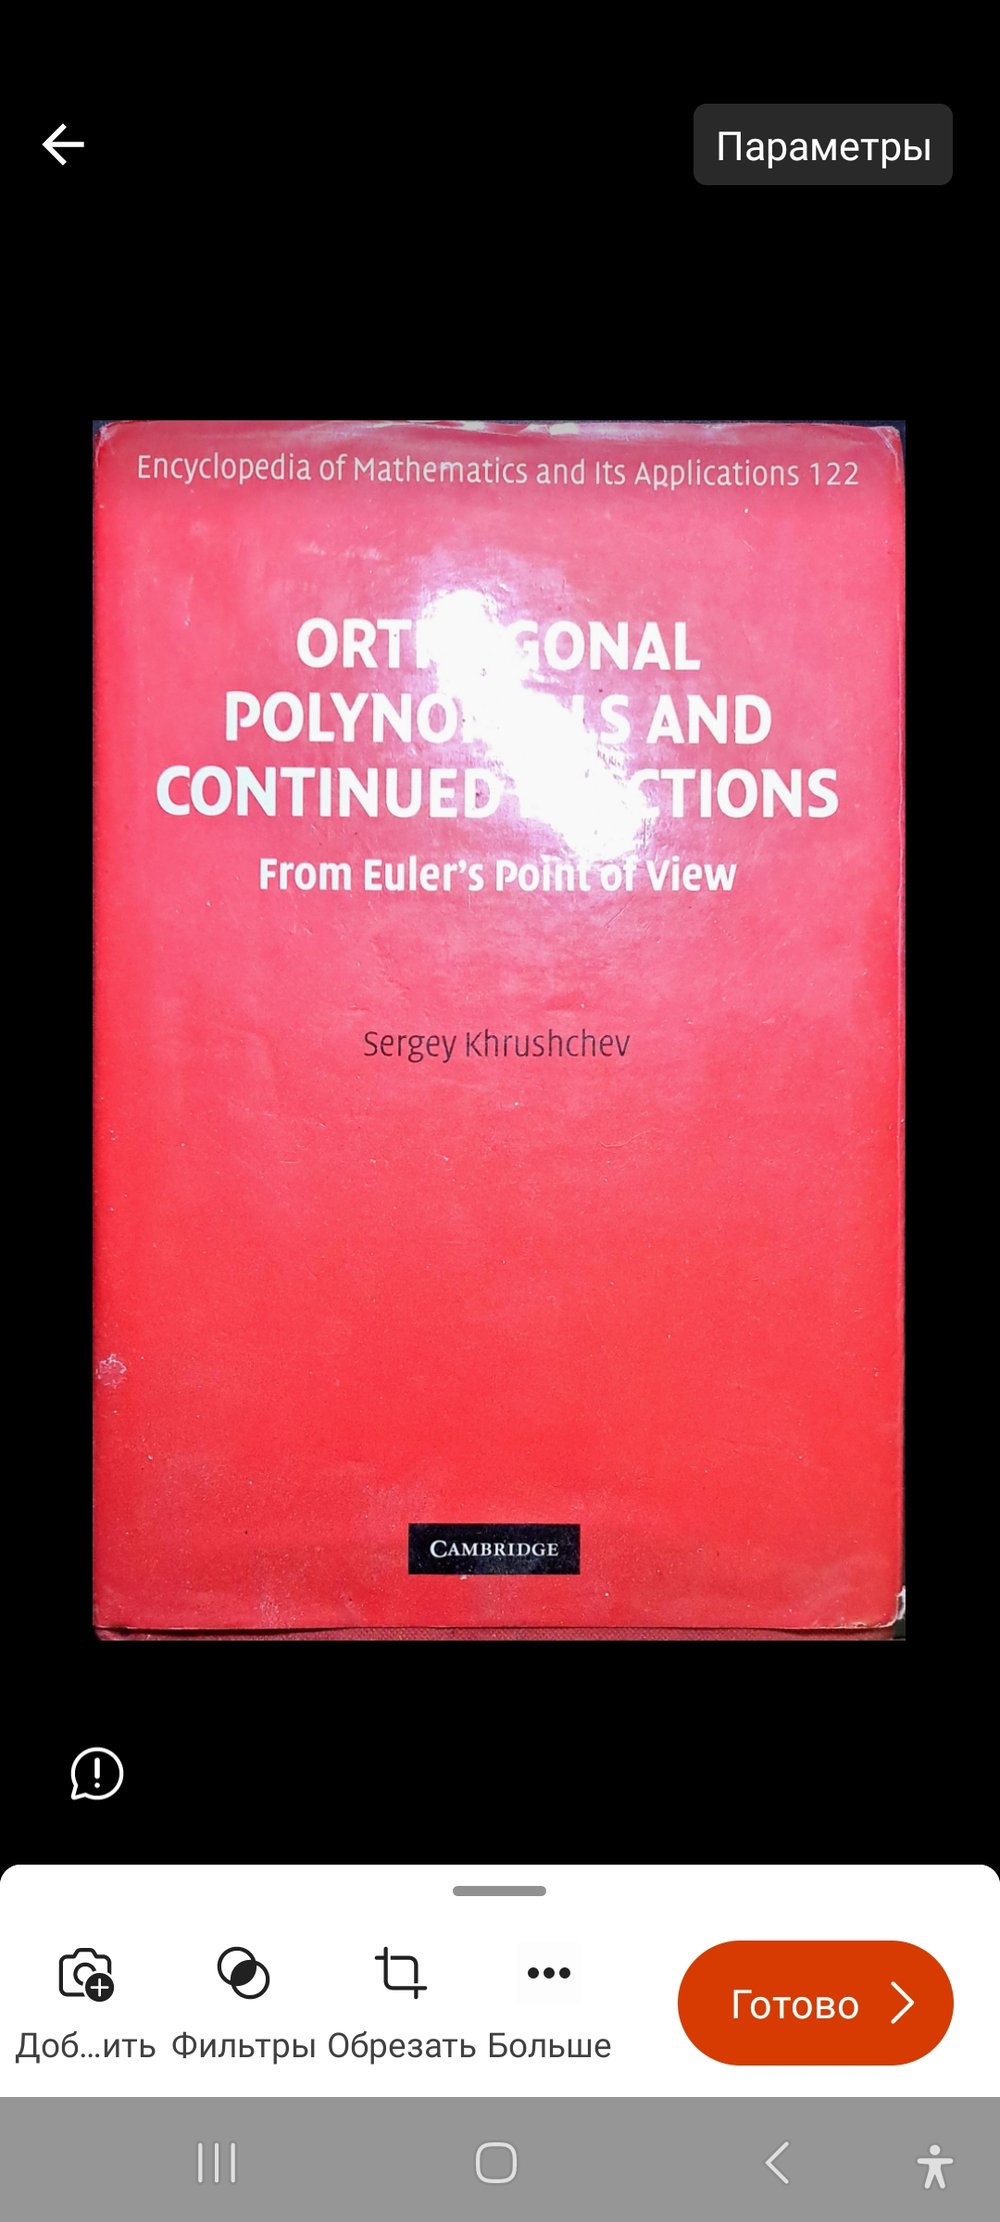
Microsoft Lense
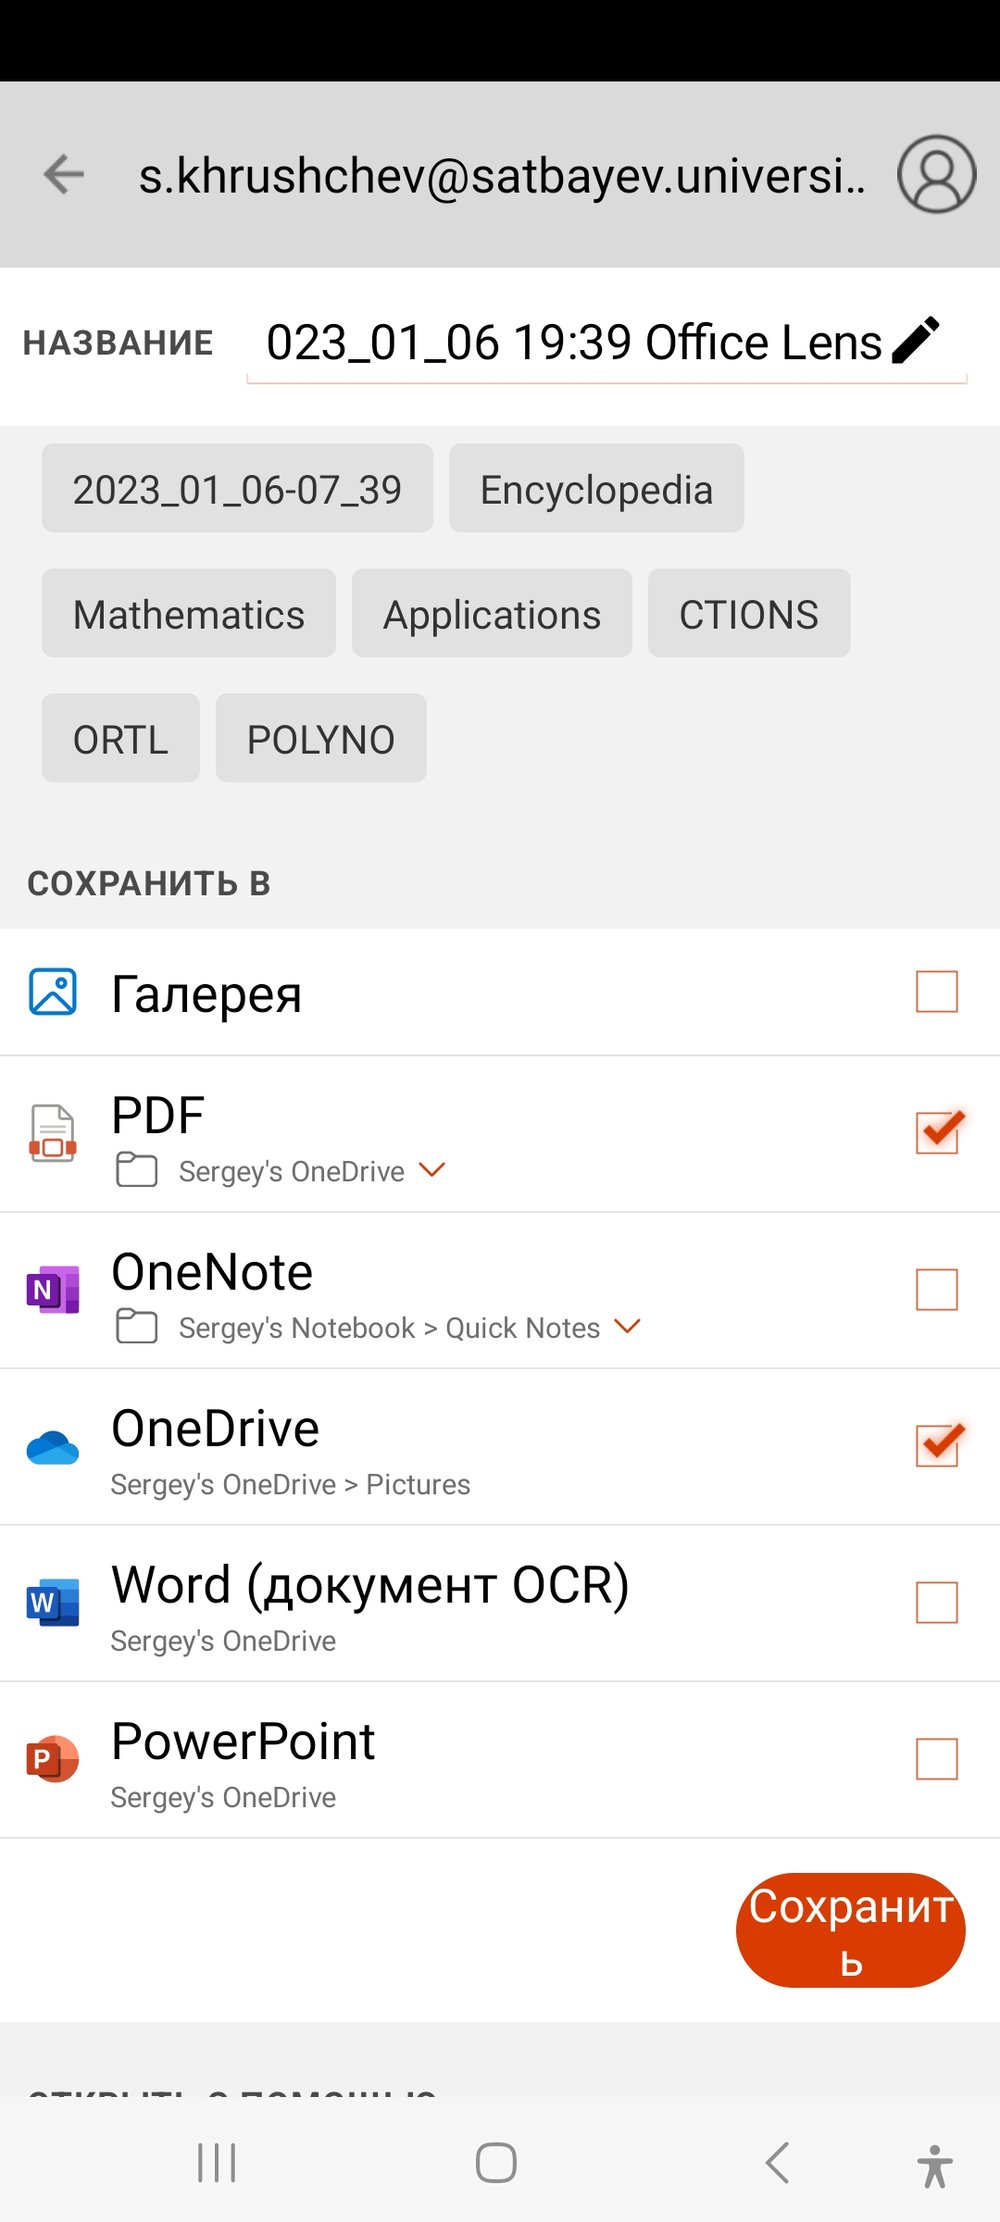
It is important to check mark the box to the right of the PDF symbol. In this case the application creates a folder with the name "Office Lense" in the OneDrive of the student's account. All scans will be collected to this folder.
Microsoft Lens provides extraordinary quality and automatically delivers all scans to one place in OneDrive.
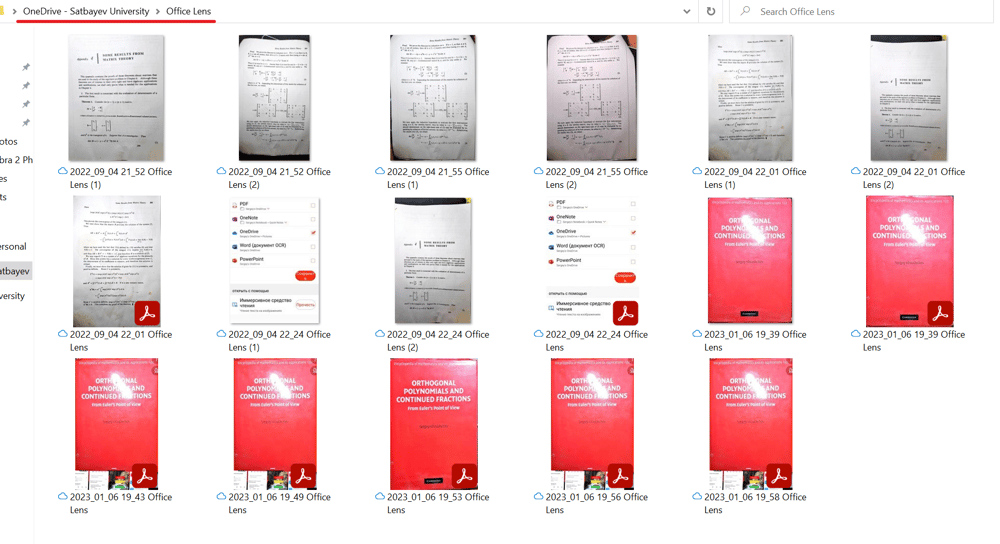
The picture above shows my screenshots in the folder underlined in red.
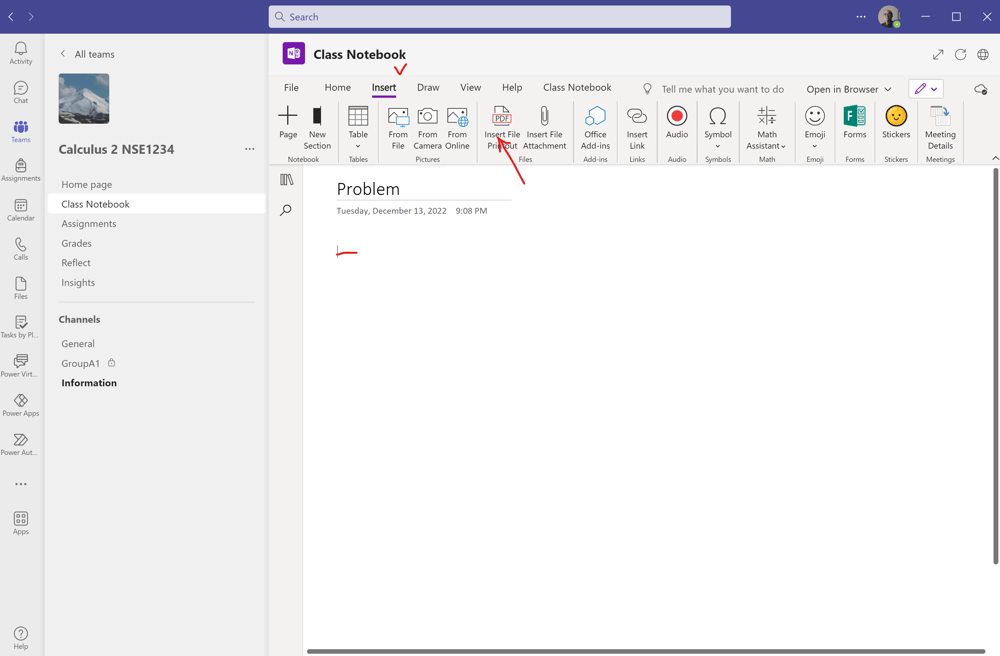
A student opens the page of Class Notebook with the problem, clicks "Insert," and then the "Insert File Printout" icon.
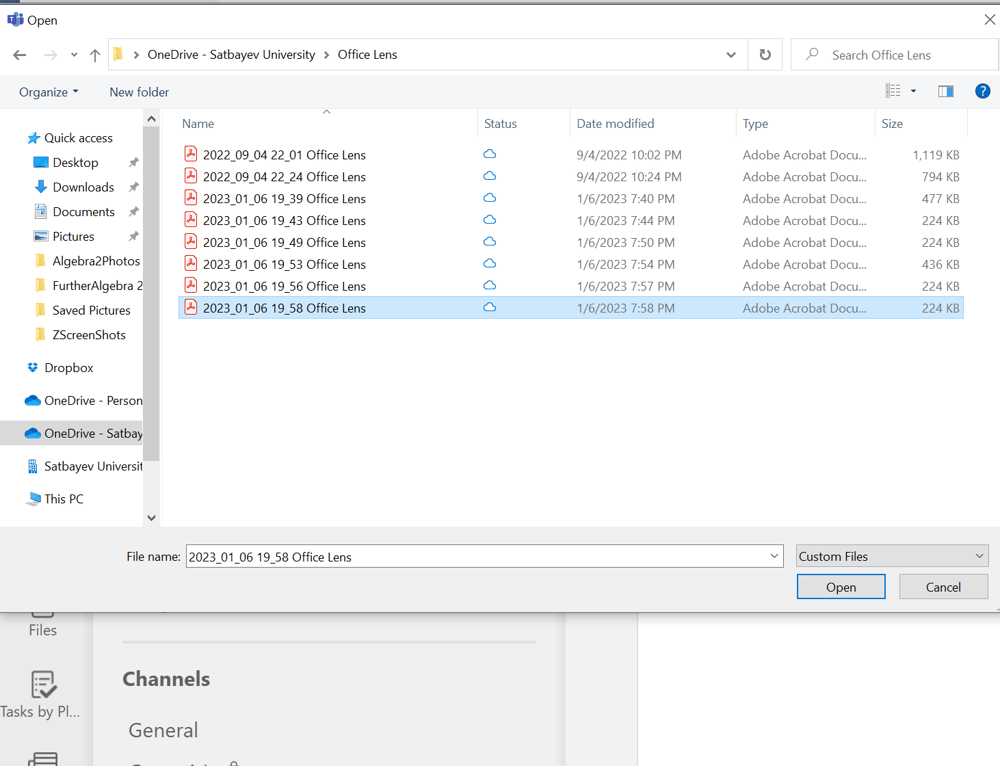
A required file is selected and a click onto the "Open" button inserts the image starting from the place, where the cursor was present.
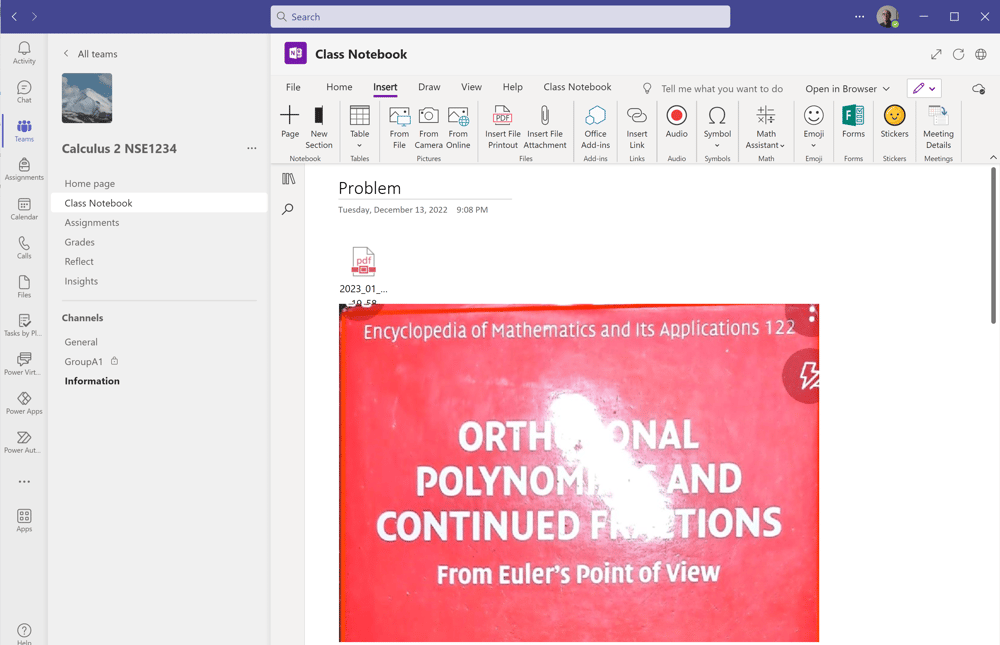
No paperwork is required since the solution can be graded electronically inside the Class Notebook.
By right clicking the print out a teacher may fix it as a background. Using the "Draw" tab, the teacher can make the same notes as on a real paperwork, see the video below. In addition to this, there is also a possibility to record a video for this student.